Potato and Broccoli Cakes + Charred Scallion Yogurt Sauce

potato_broccoli_cakes-1.jpg

Potato and Broccoli Cakes with Charred Scallion Yogurt Sauce. I’ve made these about three times now, they are so good! The recipe is from Sprouted Kitchen Cooking Club which I joined about a year and a half ago. And the sauce I’ve made a few times now as well. They make a great side dish for dinner, but even better is having one or two with an egg on top for breakfast or lunch the next day. I made a couple changes to the recipe, I found the patties hold together better with a half cup of breadcrumbs added, the mixture was too wet and some of them were falling apart. And I used Panko breadcrumbs rather than seasoned breadcrumbs, you can use what you have or prefer, but I like the crunch of Panko breadcrumbs. 

The Charred Scallion Yogurt Sauce is super tasty, you can add some fresh or charred jalapeño to it as well. The recipe makes about 12 ounces of sauce, and this is great to use leftover on sandwiches or roasted vegetables, it will stay fresh in the fridge for up to 2 weeks. 

I hope you try this recipe, it’s so good I had to share it with you. Enjoy!

potato_broccoli_cakes-2.jpg
potato_broccoli_cakes-3.jpg
potato_broccoli_cakes-4.jpg
potato_broccoli_cakes-5.jpg

Potato and Broccoli Cakes

  • 1 lb. of Yukon gold potatoes

  • 2 Tbsp. of butter

  • 1/3 cup of cream (or milk)

  • 1 tsp. of sea salt

  • fresh ground pepper

  • 2 eggs

  • 1/2 cup of grated parmesan, divided

  • 6-8 oz. of steamed broccoli (about 1 cup finely chopped)

  • 1 1/2 cup of Panko breadcrumbs, divided

  • avocado or olive oil for cooking

Peel the potatoes and boil until tender, about 10 minutes. Drain and remove to a mixing bowl, along with the butter, cream, salt and pepper. Let them cool down slightly. Mash everything until smooth. Whisk in the eggs and 1/4 cup of the parmesan. Make sure the broccoli is super, super well chopped, stir that into the potato mixture.  Add 1/2 cup of the breadcrumbs. It should look like meatball dough - damp but holds form.

Mix the breadcrumbs and remaining parmesan cheese in a shallow bowl.

Heat a generous slick of oil in a non-stick skillet over medium heat. Form small, 3 x 1” thick patties out of the potato mixture, dredge it in the parm breadcrumbs to get a little coat, then pan fry them for 2-3 minutes per side until golden brown. Set aside to cool. Repeat with the remaining potato mixture, adding a fresh slick of oil to the pan between batches. Makes 8 cakes.

Serve warm or room temperature with yogurt sauce


Charred Scallion Yogurt Sauce

  • 1 bundle of scallions (green onions) - ends trimmed

  • 1 tsp. of extra virgin olive oil

  • pinch of sea salt

  • 1 tsp. of sea salt

  • pinch of fresh ground pepper

  • 1 1/2 cups of plain, whole milk, Greek yogurt

  • 2 Tbsp. of extra virgin olive oil

  • 1 cup of chopped, flat leaf parsley

  • 1/4 cup of chopped fresh dill (or 1 tsp. dried dill)

  • 1 lemon - juiced (about 3-4 Tbsp.)

  • 1 Tbsp. of white wine vinegar

  • Dash of hot sauce or pinch of red pepper flakes

  • 2 Tbsp. of water (as needed for consistency)

Preheat your oven to 425°, or grill on high heat. Trim the scallions and rub them with a bit of oil and salt. Place them on foil or parchment and pop them in the oven to roast for 15-20 minutes in oven (10-15 minutes on grill) until browned and tender. Set aside to cool.

Into a blender or food processor, pulse the scallions and salt and pepper. Add the yogurt, parsley, dill, lemon juice, vinegar, hot sauce, water and pulse until flecked and smooth-ish. If it still seems too thick, add another splash of water.

Store in an airtight jar in the fridge for 1-2 weeks.

Crunchy Veggie Lentil Salad

crunchy_veggie_lentil_salad-1.jpg

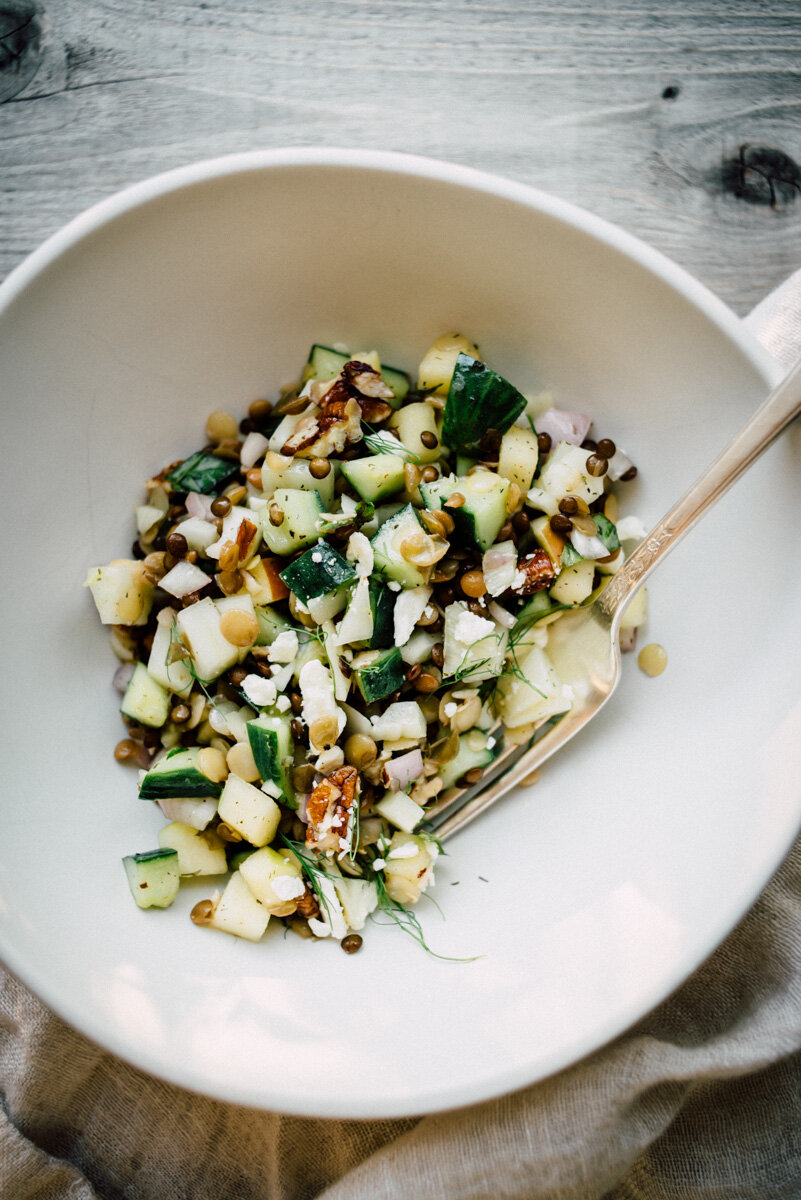
Crunchy Veggie Lentil Salad. I haven’t had lentil salad in a long time. And this was one of the recipes that came up on Sprouted Kitchen Cooking Club this week. Sarah called it “Crunchy Lunchy Lentils.” This is the type of salad you make ahead. It can last for days in the fridge and generally (always) tastes better after it’s had time to sit for a day or so. I’ve made a few adjustments to the recipe but didn’t deviate all that much. I used a trio of green, brown and black sprouted lentils that cooked in 6 minutes versus French lentils that take about 20 minutes. I think my ratios of veggie to lentils were off a bit, I think there should have been more lentils, but it still worked out to a great salad regardless. 

This month has been pretty crazy. A few weeks ago there were a series of fires that erupted here in Oregon, then came a wind storm that blew all the smoke over here in Portland. We had to literally seal all the openings in the house because the air quality outside was hazardous, it was coming in from the fireplaces, any opening in the house, and remained like that for nearly 10 days. When that started I had already begun my project to paint the kitchen cabinets and countertop, the kitchen was in complete disarray but I had to move forward and get it done. We had air purifiers and fans running 24/7. It was pretty horrible happening on top of a pandemic, we couldn’t spend time outside at all. A lot of businesses and restaurants (that are already hurting) had to close, and there were some days where I couldn’t get grocery delivery or take-out, which was kind of big deal because we couldn’t use the kitchen much, everything was covered in drop cloths, so not much cooking other than microwaving something or eating sandwiches. I had prepared a couple of dishes in advance and was planning on grilling outside while the kitchen was unusable, but that didn’t work out. It was just one disaster layered on top of another. Many people lost their homes due to the fires, so we were lucky that we didn’t have to go through anything like that. I finished my kitchen project, the outside air cleared up and it rained and rained. And now we’re having a beautiful week of sunshine, with windows open and fresh air everywhere. But I feel a little PTSD from the smoke episode, all this sunshine and dry weather is dangerous this time of year, even with a burn ban people still do stupid stuff and light camp fires or whatever. I’m so afraid of new fires and that smoke coming back. It was just too much. I think I should just have a cocktail and enjoy a few rays of sunshine for now. And really, we had so much rain last week I think things are ok and I shouldn’t worry so much.

Anyways, if you’re still reading, I hope you enjoy this salad, it’s vegetarian and could be vegan if you skip the feta cheese, but I just love cheese in this salad. Enjoy!

crunchy_veggie_lentil_salad-2.jpg
crunchy_veggie_lentil_salad-3.jpg
crunchy_veggie_lentil_salad-4.jpg
crunchy_veggie_lentil_salad-5.jpg

Crunchy Veggie Lentil Salad

  • 3/4-1 cup of French / De Puy lentils

  • 2 Persian cucumbers (or a 1/3 of an English Cucumber) - seeded

  • 1 apple

  • 1 medium fennel bulb - fronds reserved

  • 1 small shallot or 1/2 large shallot

  • 1/2 cup of pecans (or walnuts) chopped

  • 1/3 cup feta or parmesan cheese (+ more for serving)

  • 1/2 cup of fresh mint leaves

  • 1/4 cup of fresh basil leaves

For the vinaigrette

  • 1 clove of garlic, minced

  • 1 lemon - juiced

  • 2 Tbsp. of apple cider vinegar

  • 1 Tbsp. of maple syrup

  • 3 Tbsp. of extra virgin olive oil

  • 1/2 tsp. of dried dill

  • 1/2 tsp. of coriander

  • flaky sea salt

  • fresh ground pepper

Rinse your lentils. Put them in a pot with 1 ½ cups of salted water or broth. Bring the liquid up to a simmer, put the cover on ajar and cook for 20 minutes until tender. (if using different Lentils, cook per package instructions) Fluff the lentils, and set them aside to cool completely.

While the lentils cook, fine dice the cucumbers. Core and finely dice both the apple and fennel and mince the shallot. Chop the herbs.

In the bottom of your mixing bowl, combine all the vinaigrette ingredients and whisk to combine. Add the cooled lentils, all your chopped vegetables, walnuts, cheese and herbs. Toss to coat. Chill in the fridge for at least an hour, the longer it sits the better it tastes! It will keep a few days in the fridge, so this is a great side dish or lunch throughout the week. Top with fennel fronds when serving.

Pork Fried Rice with Bok Choy

pork_fried_rice_bok_choy-1.jpg

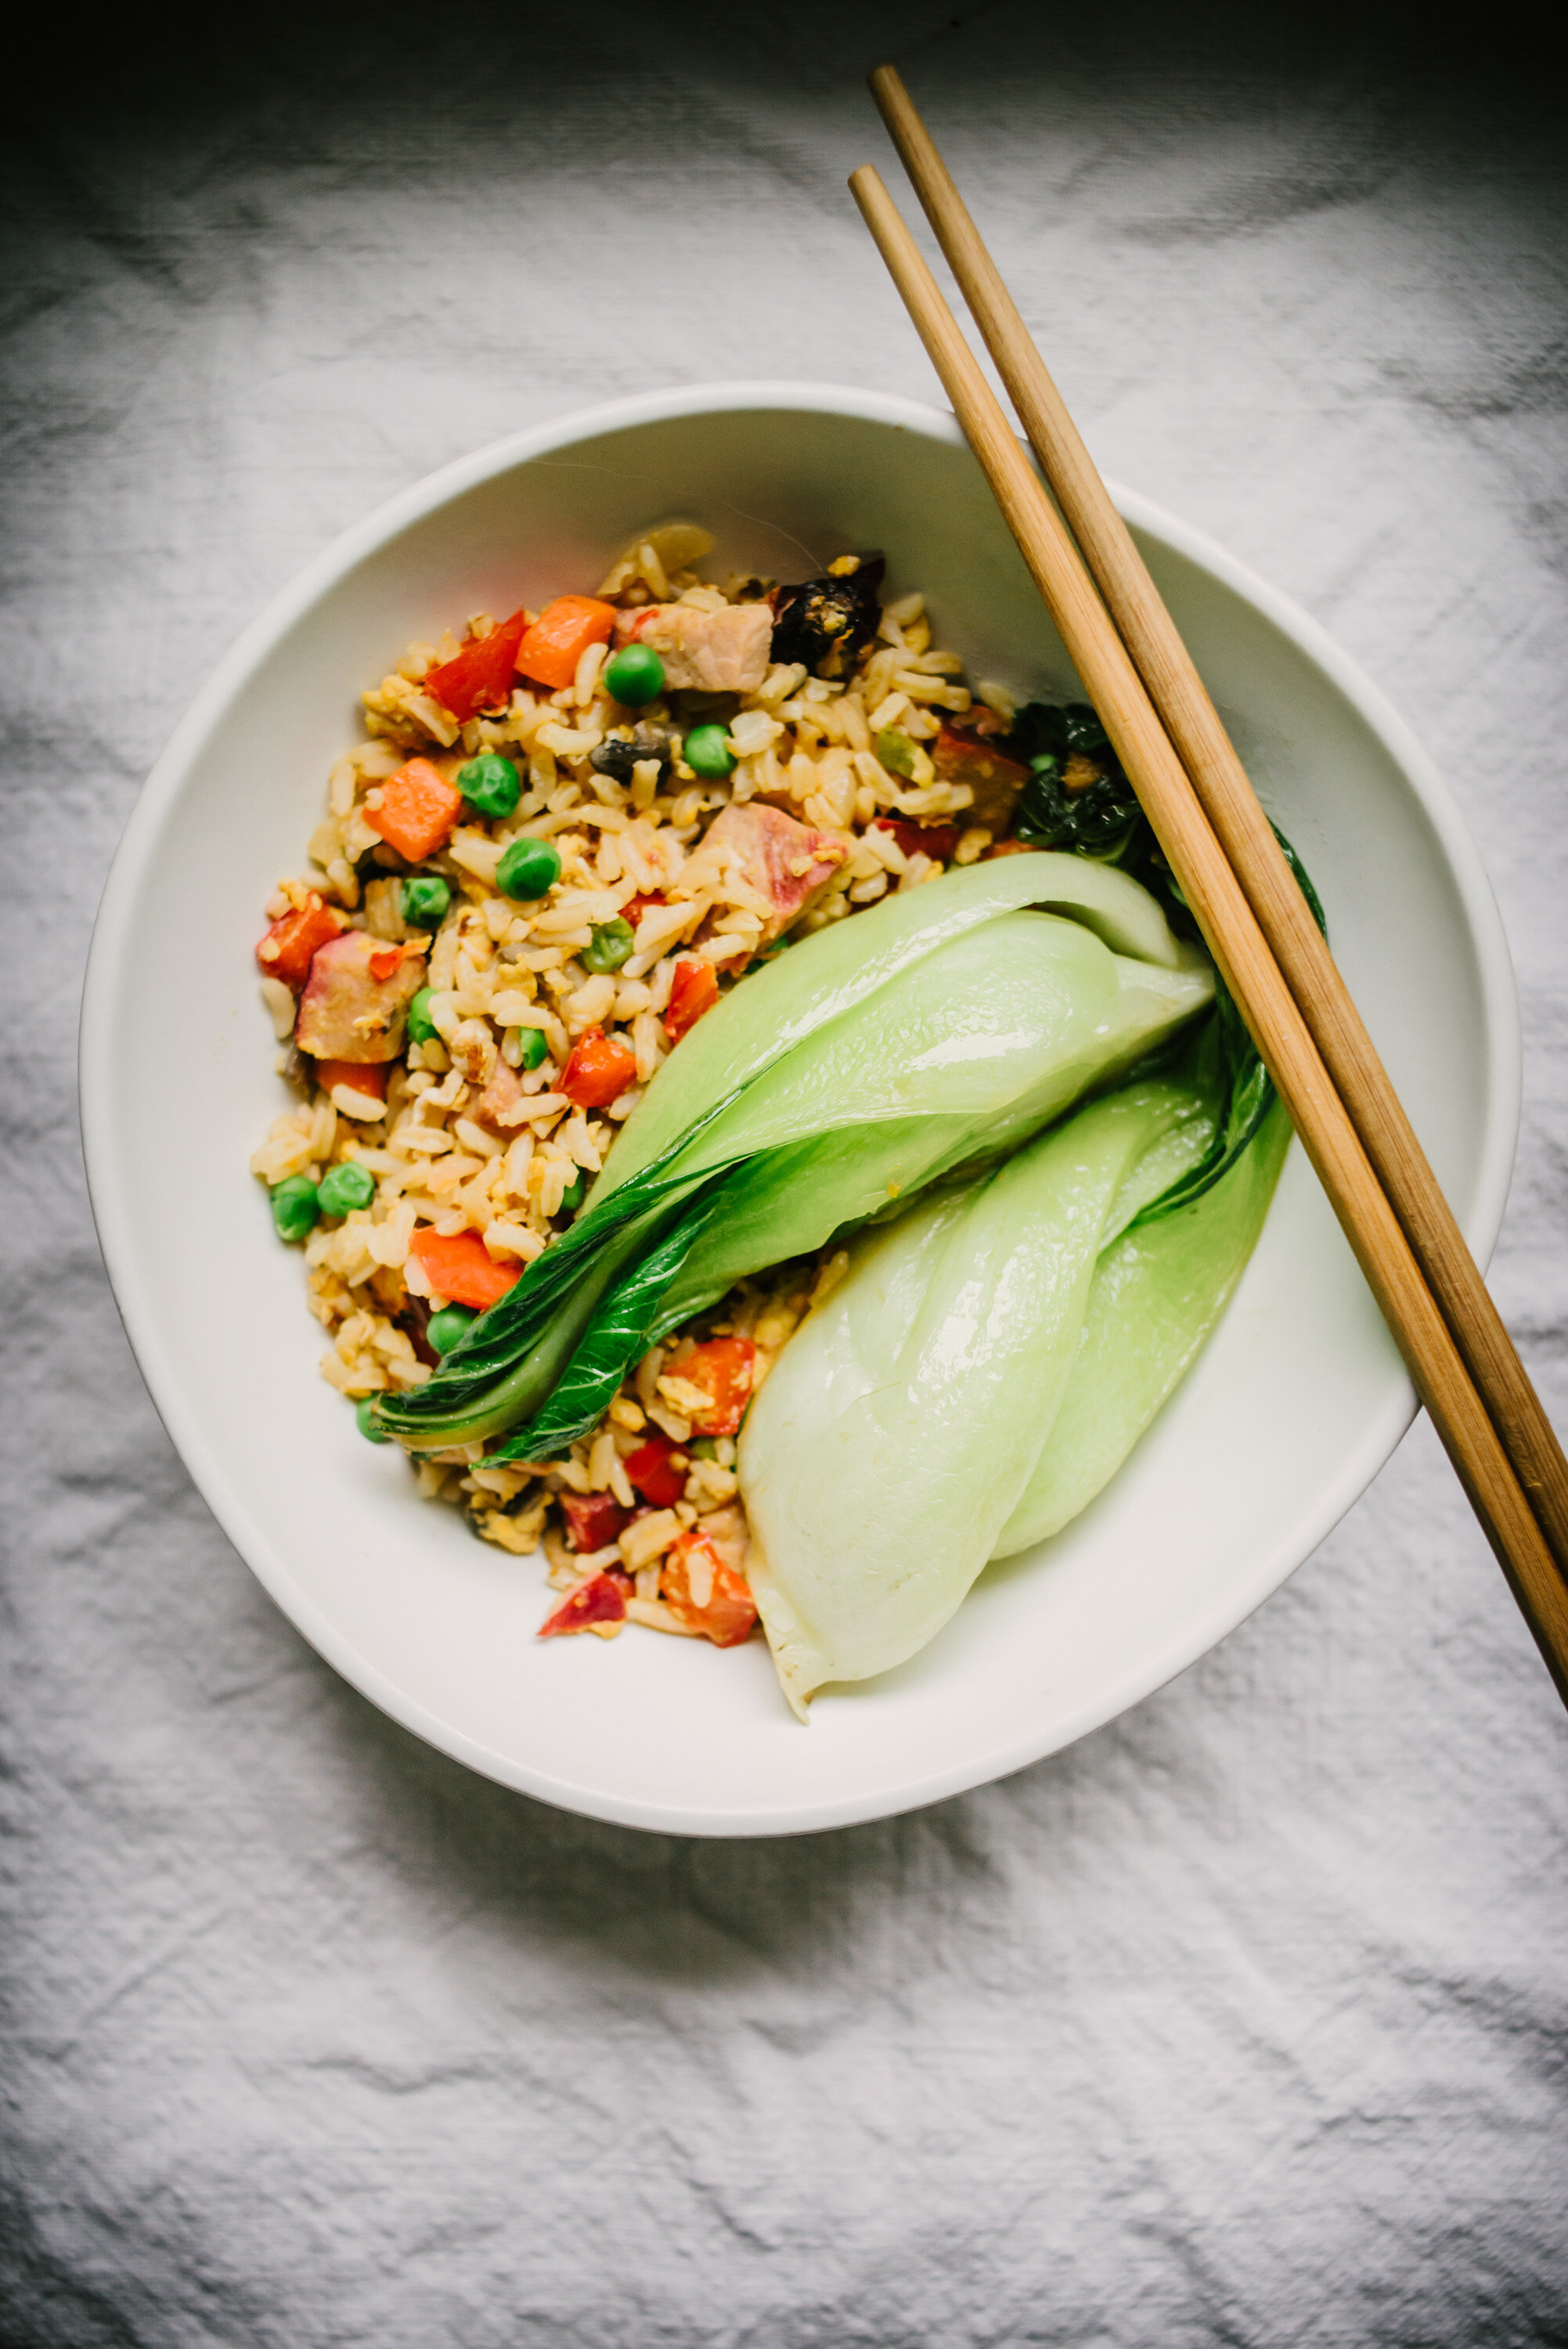
This Pork Fried Rice is so good! I think it’s better than take-out to be honest. Last month I purchased Chinese barbecued pork at Costco, I wasn’t sure what I was going to do with it, maybe a stir fry or soup, but I’ve made fried rice with bacon before and it came out so good that I had no choice but to make this. The Costco pork contains two pieces at about a pound each, so the amount works great for the recipe below and you can freeze the other pound of pork. 

The original recipe had half the sauce that I have below, that’s how I made it the first time and it really needed more sauce for all that rice, so I doubled the sauce measurements and I think it came out perfect. 

Another change from the original recipe, I didn’t use solid vegetable oil, I don’t have any and I don’t want any, lol. So I used olive oil instead, you might want to try avocado oil or a peanut oil which is more suitable for high heat, I didn’t want this to be too greasy and it wasn’t! I prefer this much more than take-out fried rice that can be way too greasy. If you can’t get your hands on Chinese barbecued pork you could make this with bacon, or leftover chicken, if you’re vegetarian you can add tofu or maybe eggplant.

I included a recipe for the Bok Choy, although mine came out really chewy and was hard to eat. Depending on the type of Bok Choy you have you might want to chop it up rather than quartering it. I’ve learned that Shanghai Bok Choy is more tender, it’s greener all the way through. And the larger the Bok Choy the more fibrous and chewy it will be, so I would recommend chopping it in small pieces.  

So make some rice! Pop it in the fridge and make this the next day, you’ll love it!

pork_fried_rice_bok_choy_2-1.jpg
pork_fried_rice_bok_choy-3.jpg

Pork Fried Rice with Bok Choy

  • 6 tablespoons soy sauce 

  • 10 teaspoons rice vinegar 

  • 2 tablespoon Asian sesame oil 

  • 1/2 teaspoon sugar

  • 1/4 cup peanut oil (you can start out with less and then add as needed)

  • 3/4-1 lb Chinese barbecued Pork, cut into roughly 1/2-inch pieces

  • 1 onion, diced

  • 2 carrots, diced

  • 1 red bell pepper, diced

  • Crimini or white mushrooms, diced

  • 1 cup frozen peas, defrosted

  • 2 scallions sliced thin

  • 2 cups dry rice cooked in advance (equals about 6 cups cooked rice)

  • 4 eggs lightly beaten

In a small bowl mix together the soy sauce, rice vinegar, sesame oil and sugar, set aside.

In a large skillet or wok, heat the oil, add the diced pork and cook over high heat for a minute or so. Add the onion, carrot, bell pepper, and mushroom, cook stirring frequently until just tender. Add the eggs and scramble until just set. 

Stir in the cooked rice, peas and scallion, add the soy sauce mixture and cook until everything is hot, stirring frequently. Serve in bowls with Garlicky Bok Choy.

Garlicky Bok Choy

  • 1 tablespoon vegetable oil

  • 2 garlic cloves, chopped

  • 1 shallot, chopped

  • 1 pound baby bok choy, rinsed, cut into quarters, with core intact

  • 1 tablespoon soy sauce

Heat oil in a large skillet or wok over medium-high heat. Add garlic and shallot and cook, stirring, until fragrant, about 30 seconds. Add bok choy, soy sauce, and 2 Tbsp. water and cover immediately. Cook 1 minute. Uncover and toss, then cover and cook until bok choy is tender at the core, about 3 more minutes.

Pork Fried Rice Adapted from Food and Wine

Garlicky Bok Choy Adapted from Bon Appetit

pork_fried_rice_bok_choy-4.jpg

Grilled Corn and Pepper Salad

grilled_corn_pepper_salad-1.jpg

Grilled Corn and Pepper Salad. I hadn’t planned on posting this but damn, it came out so good I decided to take a few photos and do a blog post. I made this based on what I had on hand and what needed to be eaten pronto! And we’ve had a mini heatwave these past couple days so I wanted to cook as little as possible. I put the corn and peppers on the grill early in the day before it was unbearably hot. I can’t complain though, this summer has been remarkably mild. So salad. There is so much flavor going on in each bite it’s just a complete joy. Make sure to chop the vegetables small, close to the size of corn kernels but they don’t have to be that small. Recipe below, enjoy!

grilled_corn_pepper_salad-2.jpg
grilled_corn_pepper_salad-3.jpg
grilled_corn_pepper_salad-5.jpg

Grilled Corn and Pepper Salad

  • 2 ears of corn, charred

  • 2 bell peppers, charred

  • 1 red chili pepper, chopped small

  • 1 small cucumber (about 1/2 cup chopped small)

  • 1/4 cup fresh chopped basil

  • 1/4 cup feta cheese

  • 3-4 tablespoons Dijon vinaigrette 

Husk the corn and place it in boiling water for 5 minutes. Remove corn and place on a large dish with the 2 bell peppers. Brush the corn and peppers with avocado oil (or any high heat oil), and sprinkle with salt. Place them on a preheated grill (400°-500°F) for about 15-20 minutes, turning them every once in a while so they char on all sides. Remove vegetables from the grill and place the peppers in a bowl topped with plastic wrap for 15 minutes or so. When the peppers are cool enough to handle, remove the skin, core and seeds, then chop into small pieces. 

Cut the kernels off the corn cob by sliding a knife down the side. When the corn and peppers are completely cooled add them to a large bowl. Add the chili pepper, cucumber, and basil and mix to combine. Add the feta and Dijon dressing along with salt and pepper to taste.

Pickled Kirby Cucumbers

kirby_cucumber_dill_pickles-1-2.jpg

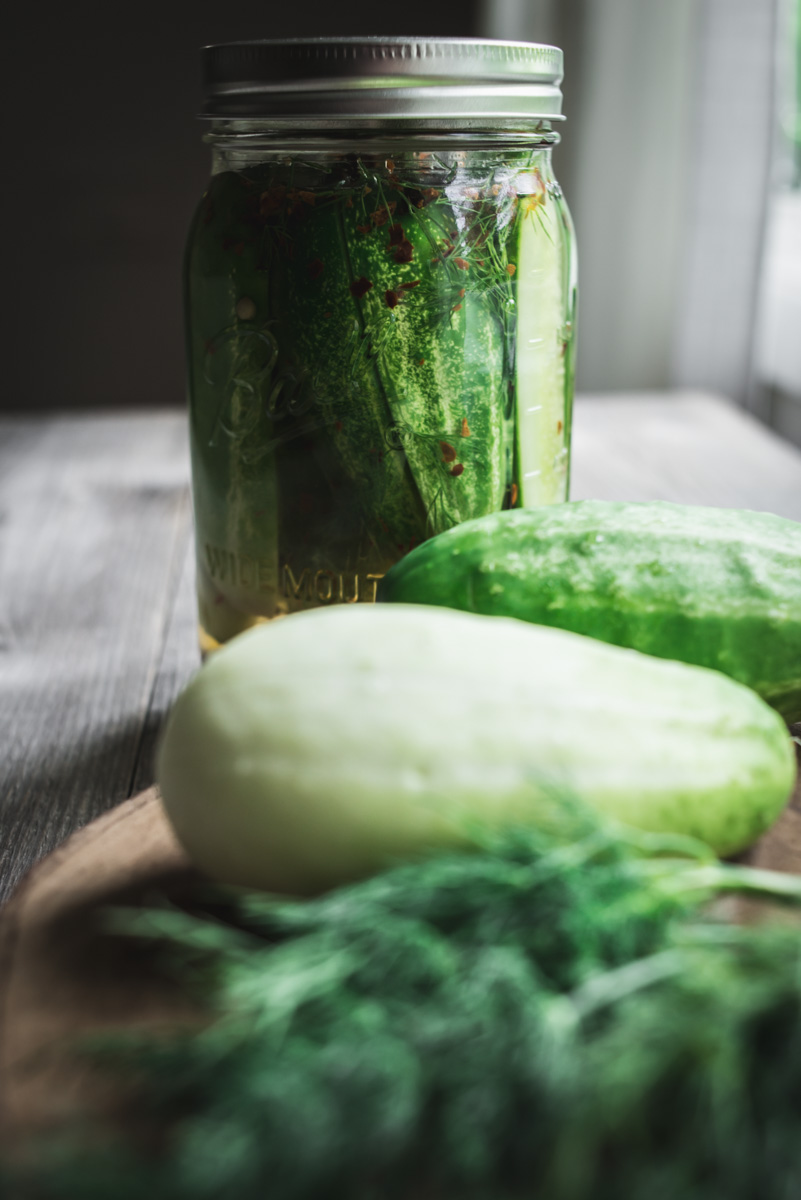
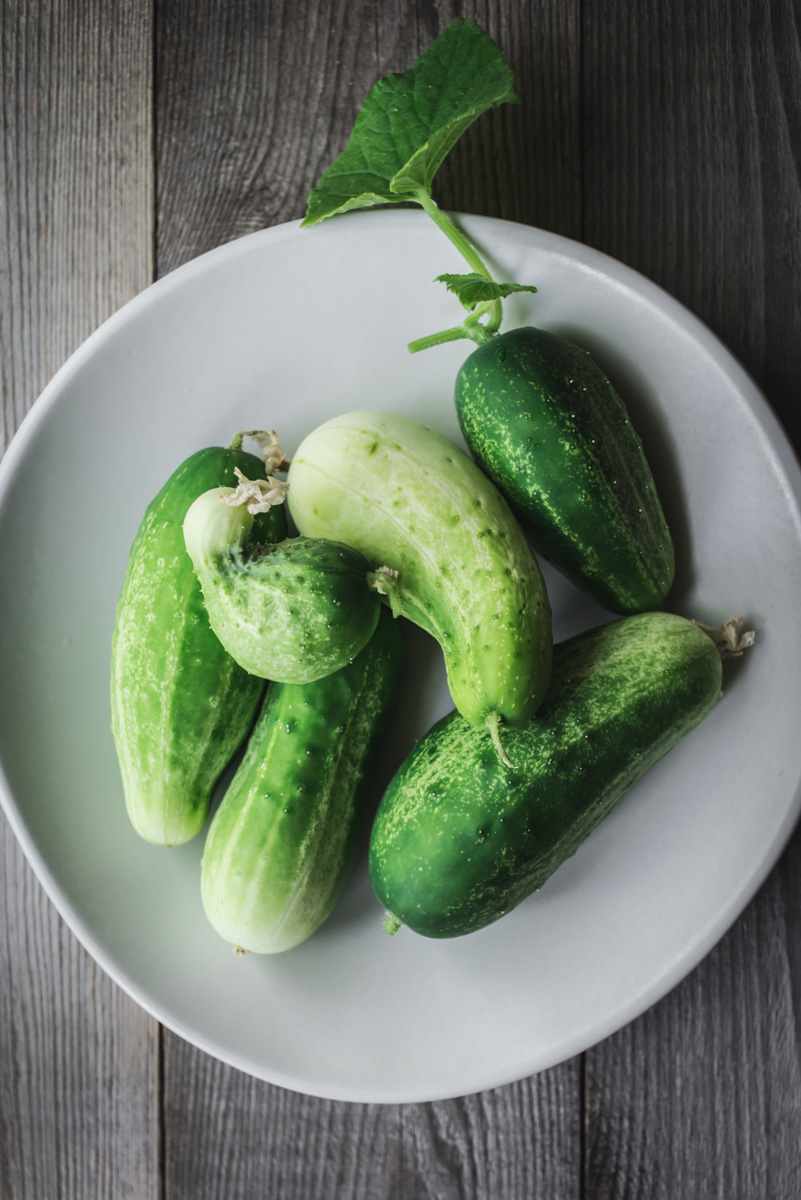
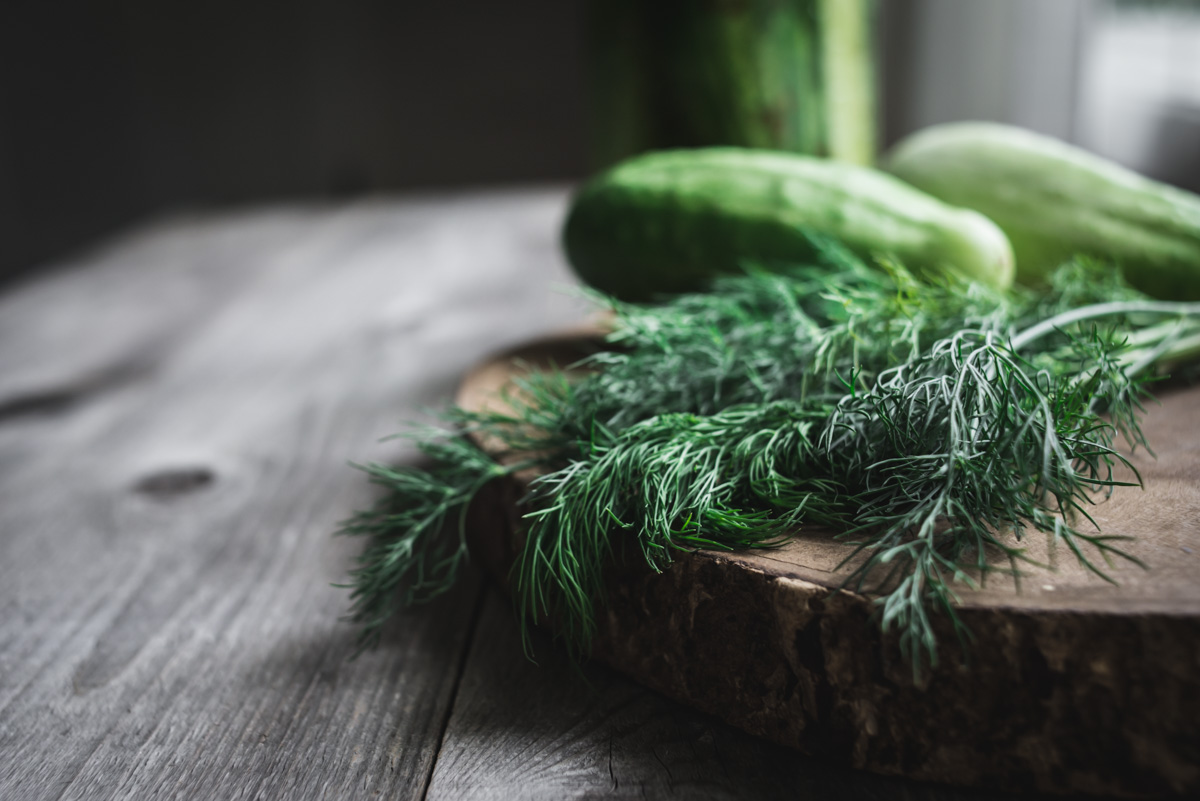
This is my favorite time of the year, the garden is in full swing and in addition to tomatoes ripening this week, I have a bunch of these cute Kirby cucumbers. I wanted to pickle them whole but they’re so fat I couldn’t even fit two of them in the mason jar, so I quartered them for this recipe. This version of pickling is the quick refrigerator pickle. There is no cooking involved and you simply let it sit in the refrigerator for a few days until it’s ready to eat. What I like most about this style is that the pickles stay crisp. I pickled some zucchini a couple weeks ago, which involved cooking the zucchini a bit, and while it tasted really good I think they were too soft. But hey, it’s all good.

The best pickle I ever had was Guss’ Pickles on the Lower East Side in NYC. It’s no longer there but it looks like they kept the business going in Brooklyn. And they sell them at Whole Foods? I’ll have to keep my eye out for them, but until then I have a good supply of pickles in the fridge. Hope you’re having a great summer, I’ll be back with some tomato recipes soon!

kirby_cucumber_dill_pickles-6.jpg
kirby_cucumber_dill_pickles-1.jpg
kirby_cucumber_dill_pickles-3.jpg
kirby_cucumber_dill_pickles-4.jpg
kirby_cucumber_dill_pickles-5.jpg

Pickled Kirby Cucumbers

  • 2-3 Kirby Cucumbers, quartered

  • 1 cups white vinegar

  • 1 cups water

  • 1 tablespoon mustard seeds

  • 1 tablespoon kosher salt

  • 1 tablespoon sugar

  • 1 teaspoon crushed red pepper

  • 1 tablespoon peppercorns

  • 1 garlic clove

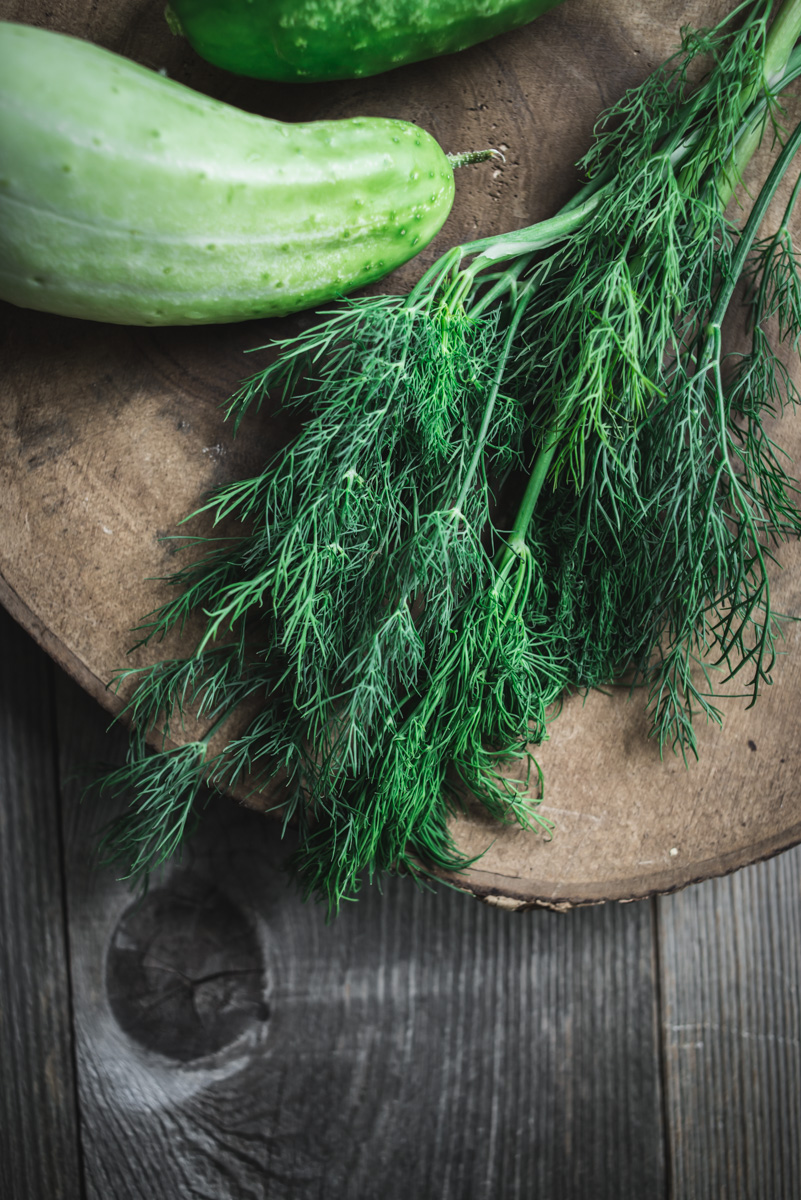
  • Fresh dill, a few sprigs

Place the quartered pickles in a quart mason jar. Add all the spices, garlic and dill to the jar. Pour in the water and vinegar, top off with more if needed. Place the cap on and give it a good shake. Pickles will be ready in a week or so. Store in the refrigerator. They should last a couple months. But you will have eaten them by then  ;)


Ratatouille with Polenta

ratatouille_with_polenta-1.jpg

Ratatouille with Polenta. This is the first time I’ve made Ratatouille. I received a complimentary cookbook Famous Dishes from Around the World that has 30 traditional dishes from various places around the globe, countries in Europe, Asia, South America, the Middle East. I picked French Ratatouille since there is such an abundance of vegetables this time of year, it makes a great summer dish. I changed a few things from the original recipe, for example the recipe had 10 cloves of garlic and I used 3, because I can’t handle too much garlic, as much as I like the flavor. I also used 2 cans of diced tomatoes rather than using marinara sauce and tomato paste. In any case it came out really good! I’ve had good and bad Ratatouille and this was definitely good. It tastes very fresh. 

I like the cookbook, it’s fun and all the recipes are fairly easy, and it has some cooking tips as well. I love all kinds of food so I think I would be happy to make any of these recipes. I want to try the Moroccan Tagine with Chicken next! Oh and It’s bilingual, each recipe is in English and Spanish, so if you’re learning either language you might enjoy this. The Ratatouille recipe here is vegetarian, but you could easily add some meat if you like. If you do add something like sausage, simply cook the meat first in the pot, then remove and add it in later with all the vegetables. Enjoy!

ratatouille_with_polenta-2.jpg
ratatouille_with_polenta-3.jpg
ratatouille_with_polenta-4.jpg
ratatouille_with_polenta-5.jpg

Ratatouille

  • 1 large eggplant, 1” slices

  • 1/2 cup olive oil

  • 1 red onion, chopped

  • 10 cloves garlic, minced (I used 3 cloves of garlic)

  • 2 large beefsteak tomatoes, cut into 1” cubes

  • 2 medium zucchini, sliced

  • 2 medium yellow squash, sliced

  • 2 cups mushrooms, sliced

  • 3 bell peppers (red, green and yellow), cut 1” pieces

  • 2 14oz cans of diced tomatoes

  • 5 bay leaves

  • 1 1/2 cups fresh basil

  • 2 teaspoons fresh or dried oregano (or rosemary if you prefer)

  • 2 teaspoons fresh or dried thyme

  • Salt & pepper to taste

(Note: the original recipe cooks each vegetable separately in another pan, then added to the larger pot, I cooked everything in one pot and it worked out fine)

Place eggplant slices on paper towels and sprinkle slices with salt for one hour to make them sweat. Blot them dry with a paper towel. Cut into quarters.

In a large dutch oven cook the eggplant in some olive oil until about half way cooked. Add the onions, garlic and tomato to the pot, sauté a few minutes until soft. Add the zucchini, squash, mushrooms, peppers, adding more olive oil as needed. Cook for 5 more minutes or so. Stir in the cans of tomatoes and the herbs (save some basil for garnish). Cover the pot and cook for about 30 minutes on a very low heat, stirring every so often. 

While the Ratatouille is simmering prepare the Polenta.

Serves 6-8 (This completely filled my dutch oven and I could not add one more thing, so it makes quite a bit!)

Recipe adapted from Famous Dishes from Around the World: Healthy, Tasty, and Affordable

Polenta

  • 1 cup Polenta (I use Bob’s Redmill Polenta Corn Grits)

  • 1 cup water

  • 1 cup milk

  • 1 cup chicken stock

Bring water, milk and chicken stock to a boil, stir in the polenta, then reduce heat to low. Cook for 5 minutes, then let it sit for a few more minutes until ready to serve.

Green Bean Salad with Mustard Seeds and Tarragon

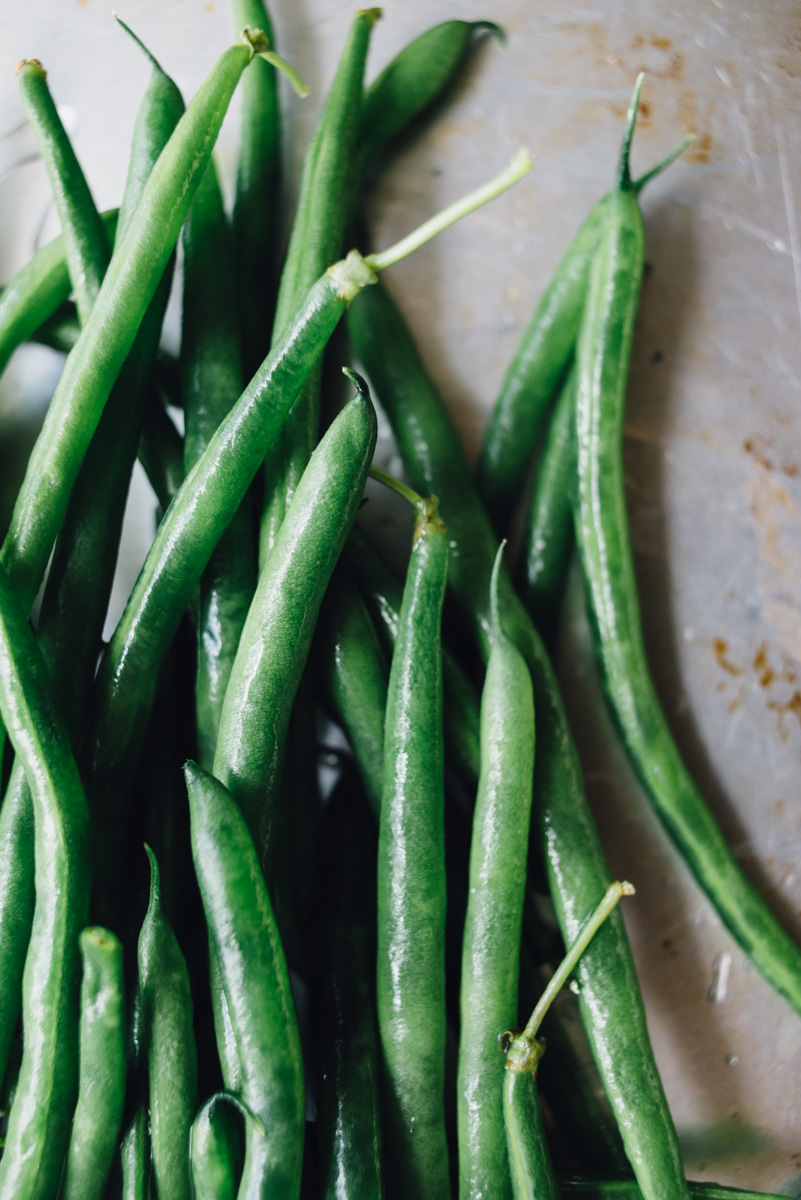
Green on green on green. We’ve been eating more vegetarian meals for dinner lately. Sometimes with fish, others just vegetables and quinoa or rice. It’s been a while since I’ve looked through Ottolenghi’s Plenty, and it wasn’t hard to find something new right away. The book is front to back vegetarian dishes with amazing flavors. This recipe caught my eye because of the tarragon, I have so much tarragon growing in the garden and I don’t use it as often as I like. It works great in this salad as lemon and tarragon are a perfect match. 

I skipped the nigella seeds because it sounded like one of those expensive exotic spices I might only use once. But who knows it might taste really good, people cannot even agree on what the flavor actually is. We had this last night over a bed of quinoa and a drizzle of sriracha, I skipped the red chile so this added some heat. I’ve tweaked a few things here but overall this is a great salad.

green_bean_salad-2.jpg
green_bean_salad-3.jpg

Green Bean Salad with Mustard Seeds and Tarragon

  • 1 1/4 cups green beans, trimmed
  • 2 1/4 cups snow peas, trimmed
  • 1 3/4 cups green peas, (fresh or frozen)
  • 2 teaspoon coriander seeds, roughly crushed with mortar and pestle (or 3/4 teaspoon ground)
  • 1 teaspoon mustard seeds
  • 3 tablespoons olive oil
  • 1 teaspoon nigella seeds (huh?)
  • 1/2 small red onion, finely chopped
  • 1/3 cup sherry vinegar
  • 1 mild fresh red chile, seeded and finely diced
  • 1 garlic clove crushed
  • Grated zest of 1 lemon
  • 1/2 lemon, juiced
  • 2 tablespoons chopped tarragon
  • salt and pepper to taste
  • 1 cup baby chard leaves or pea shoots

In a small bowl place the finely chopped red onion and add the sherry vinegar (enough to cover onions) and allow to sit for 30 minutes or so. When ready drain the onions.

Fill a medium pot with water and bring to a boil. Prepare a large bowl with water and ice. Blanch the green beans for 4 minutes, then remove and place in ice bath. Drain and dry. Then blanch the snow peas for 1 minute, place in ice bath then drain and dry. Blanch the peas for 20 seconds, refresh, drain and dry. Place all the beans and peas in a large bowl.

Put the coriander seeds, mustard seeds and oil in a small saucepan and heat up. When the seeds begin to pop (after a few minutes) pour the mixture over the vegetables. Toss together and add nigella seeds, red onion, chile, garlic, lemon juice, lemon zest and tarragon. Mix well and season with salt to taste. Before serving fold in the chard leaves, or top with pea shoots, or both! 

Adapted from Plenty