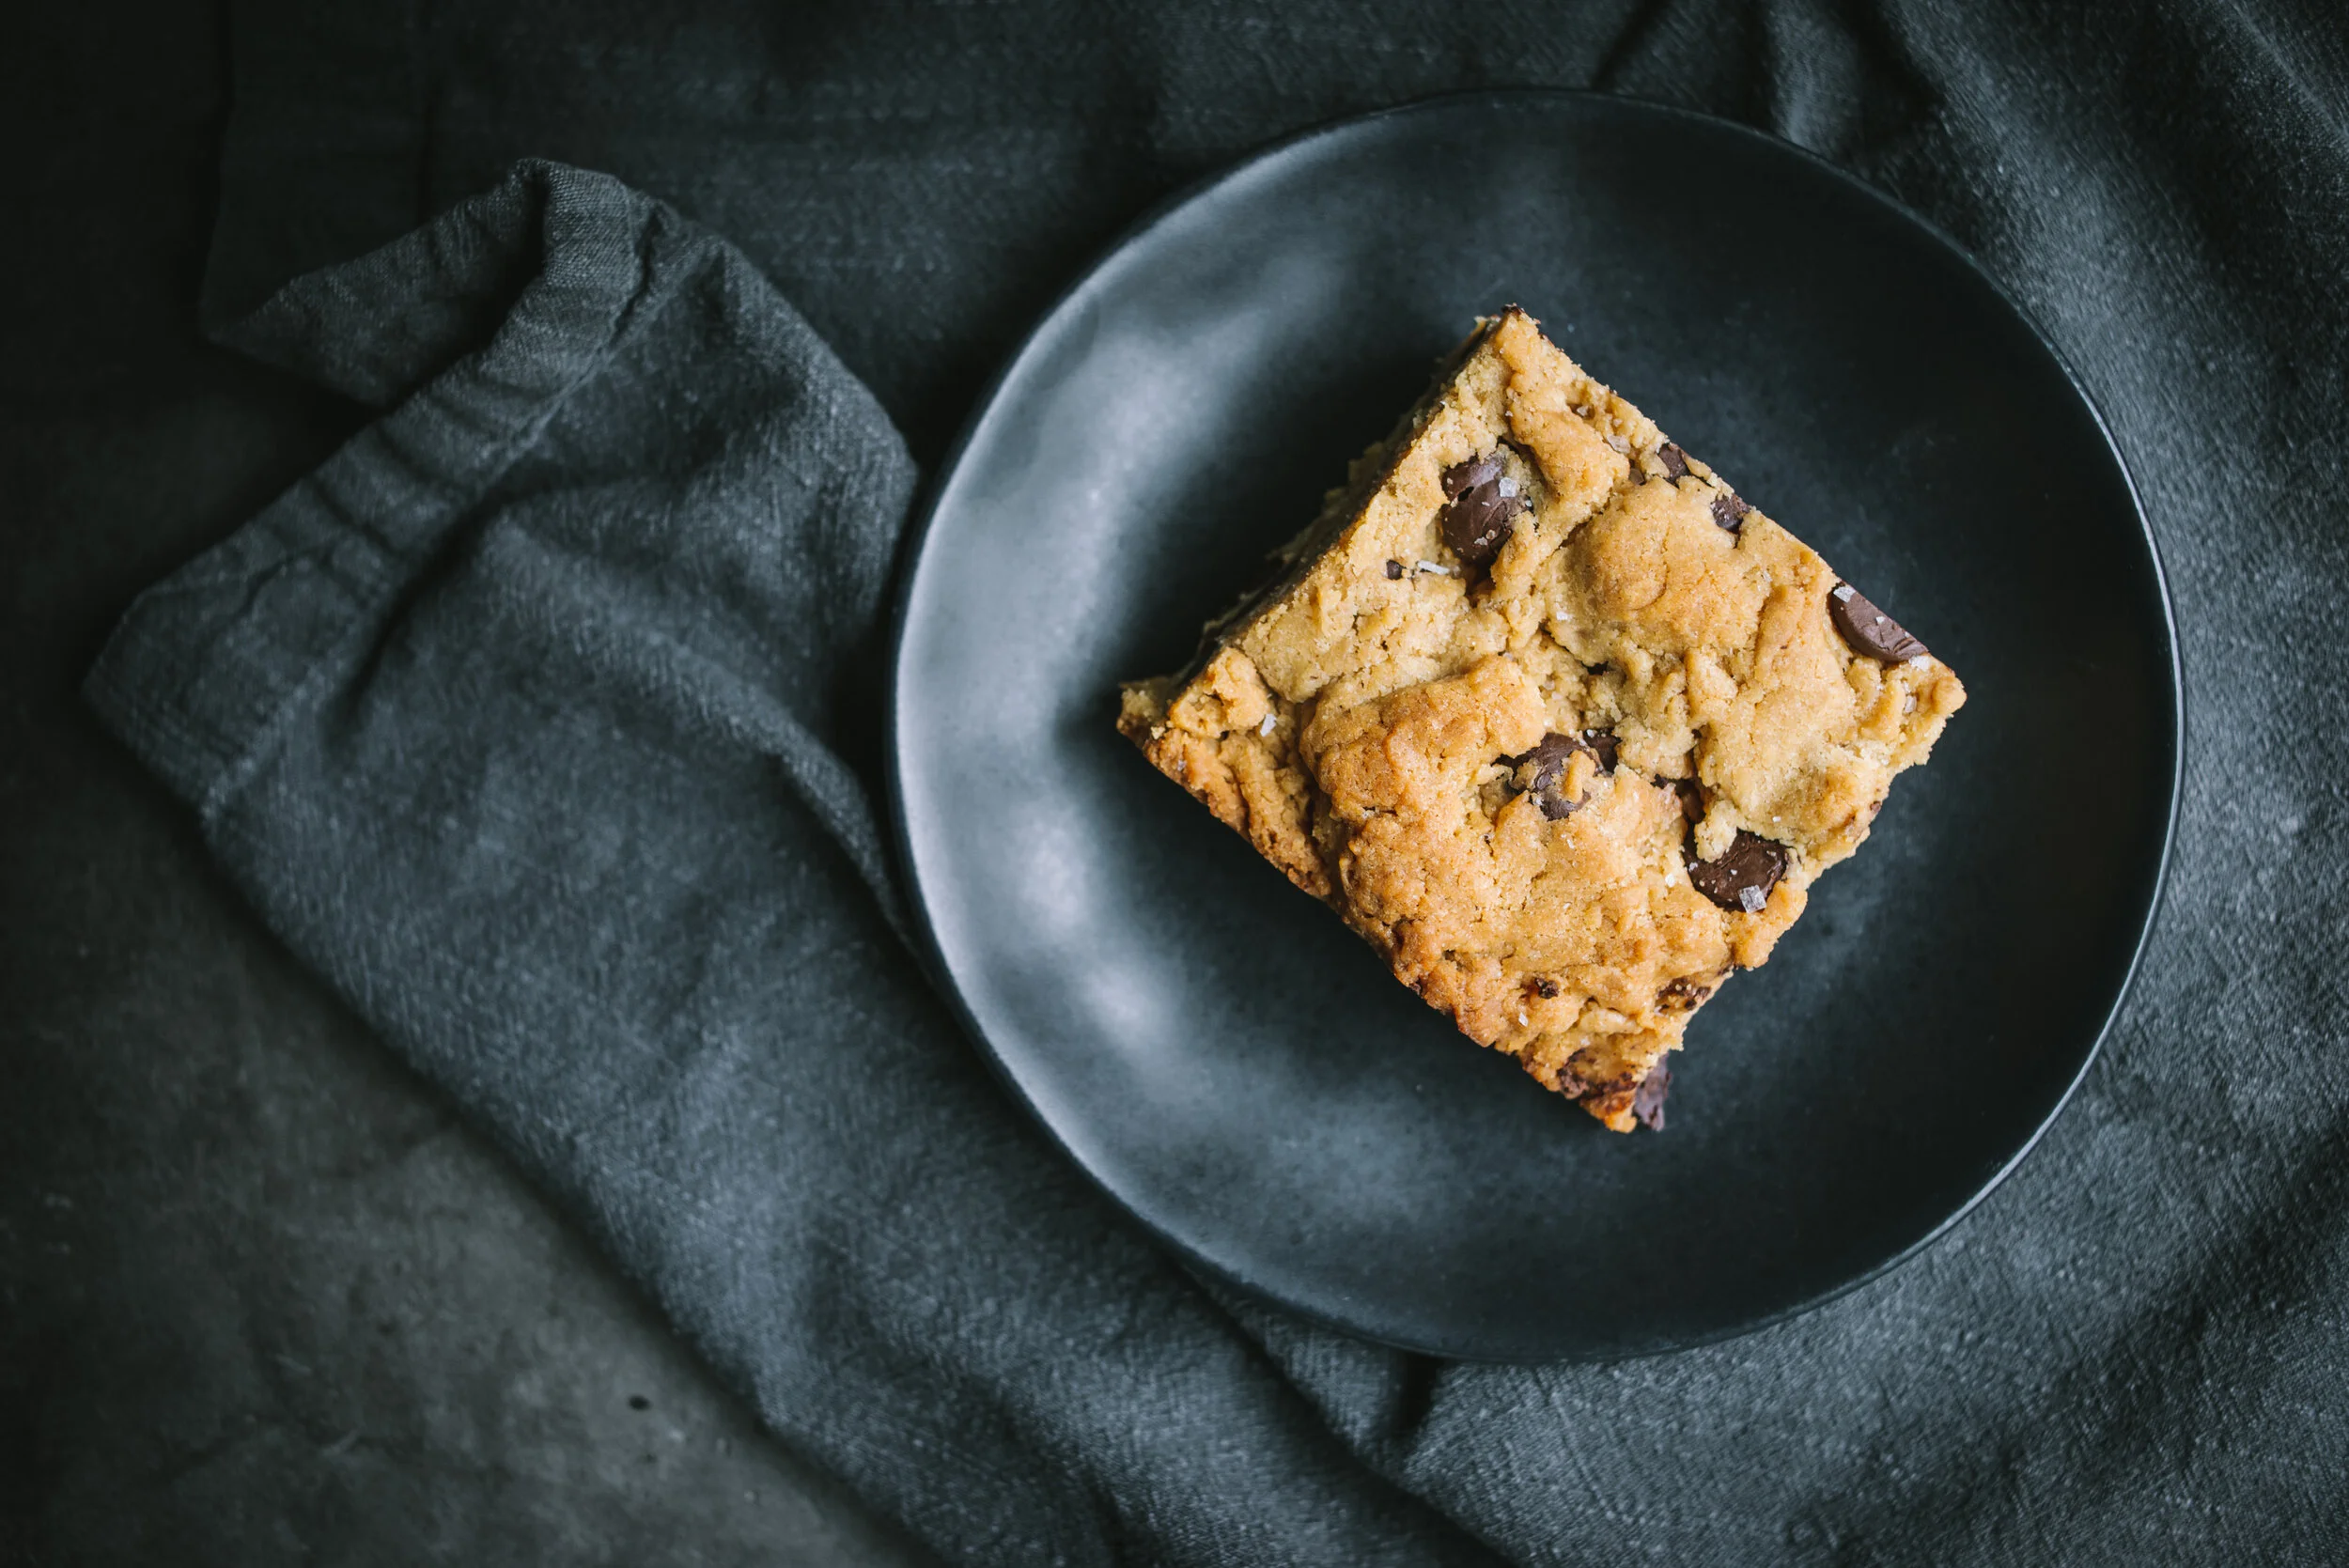
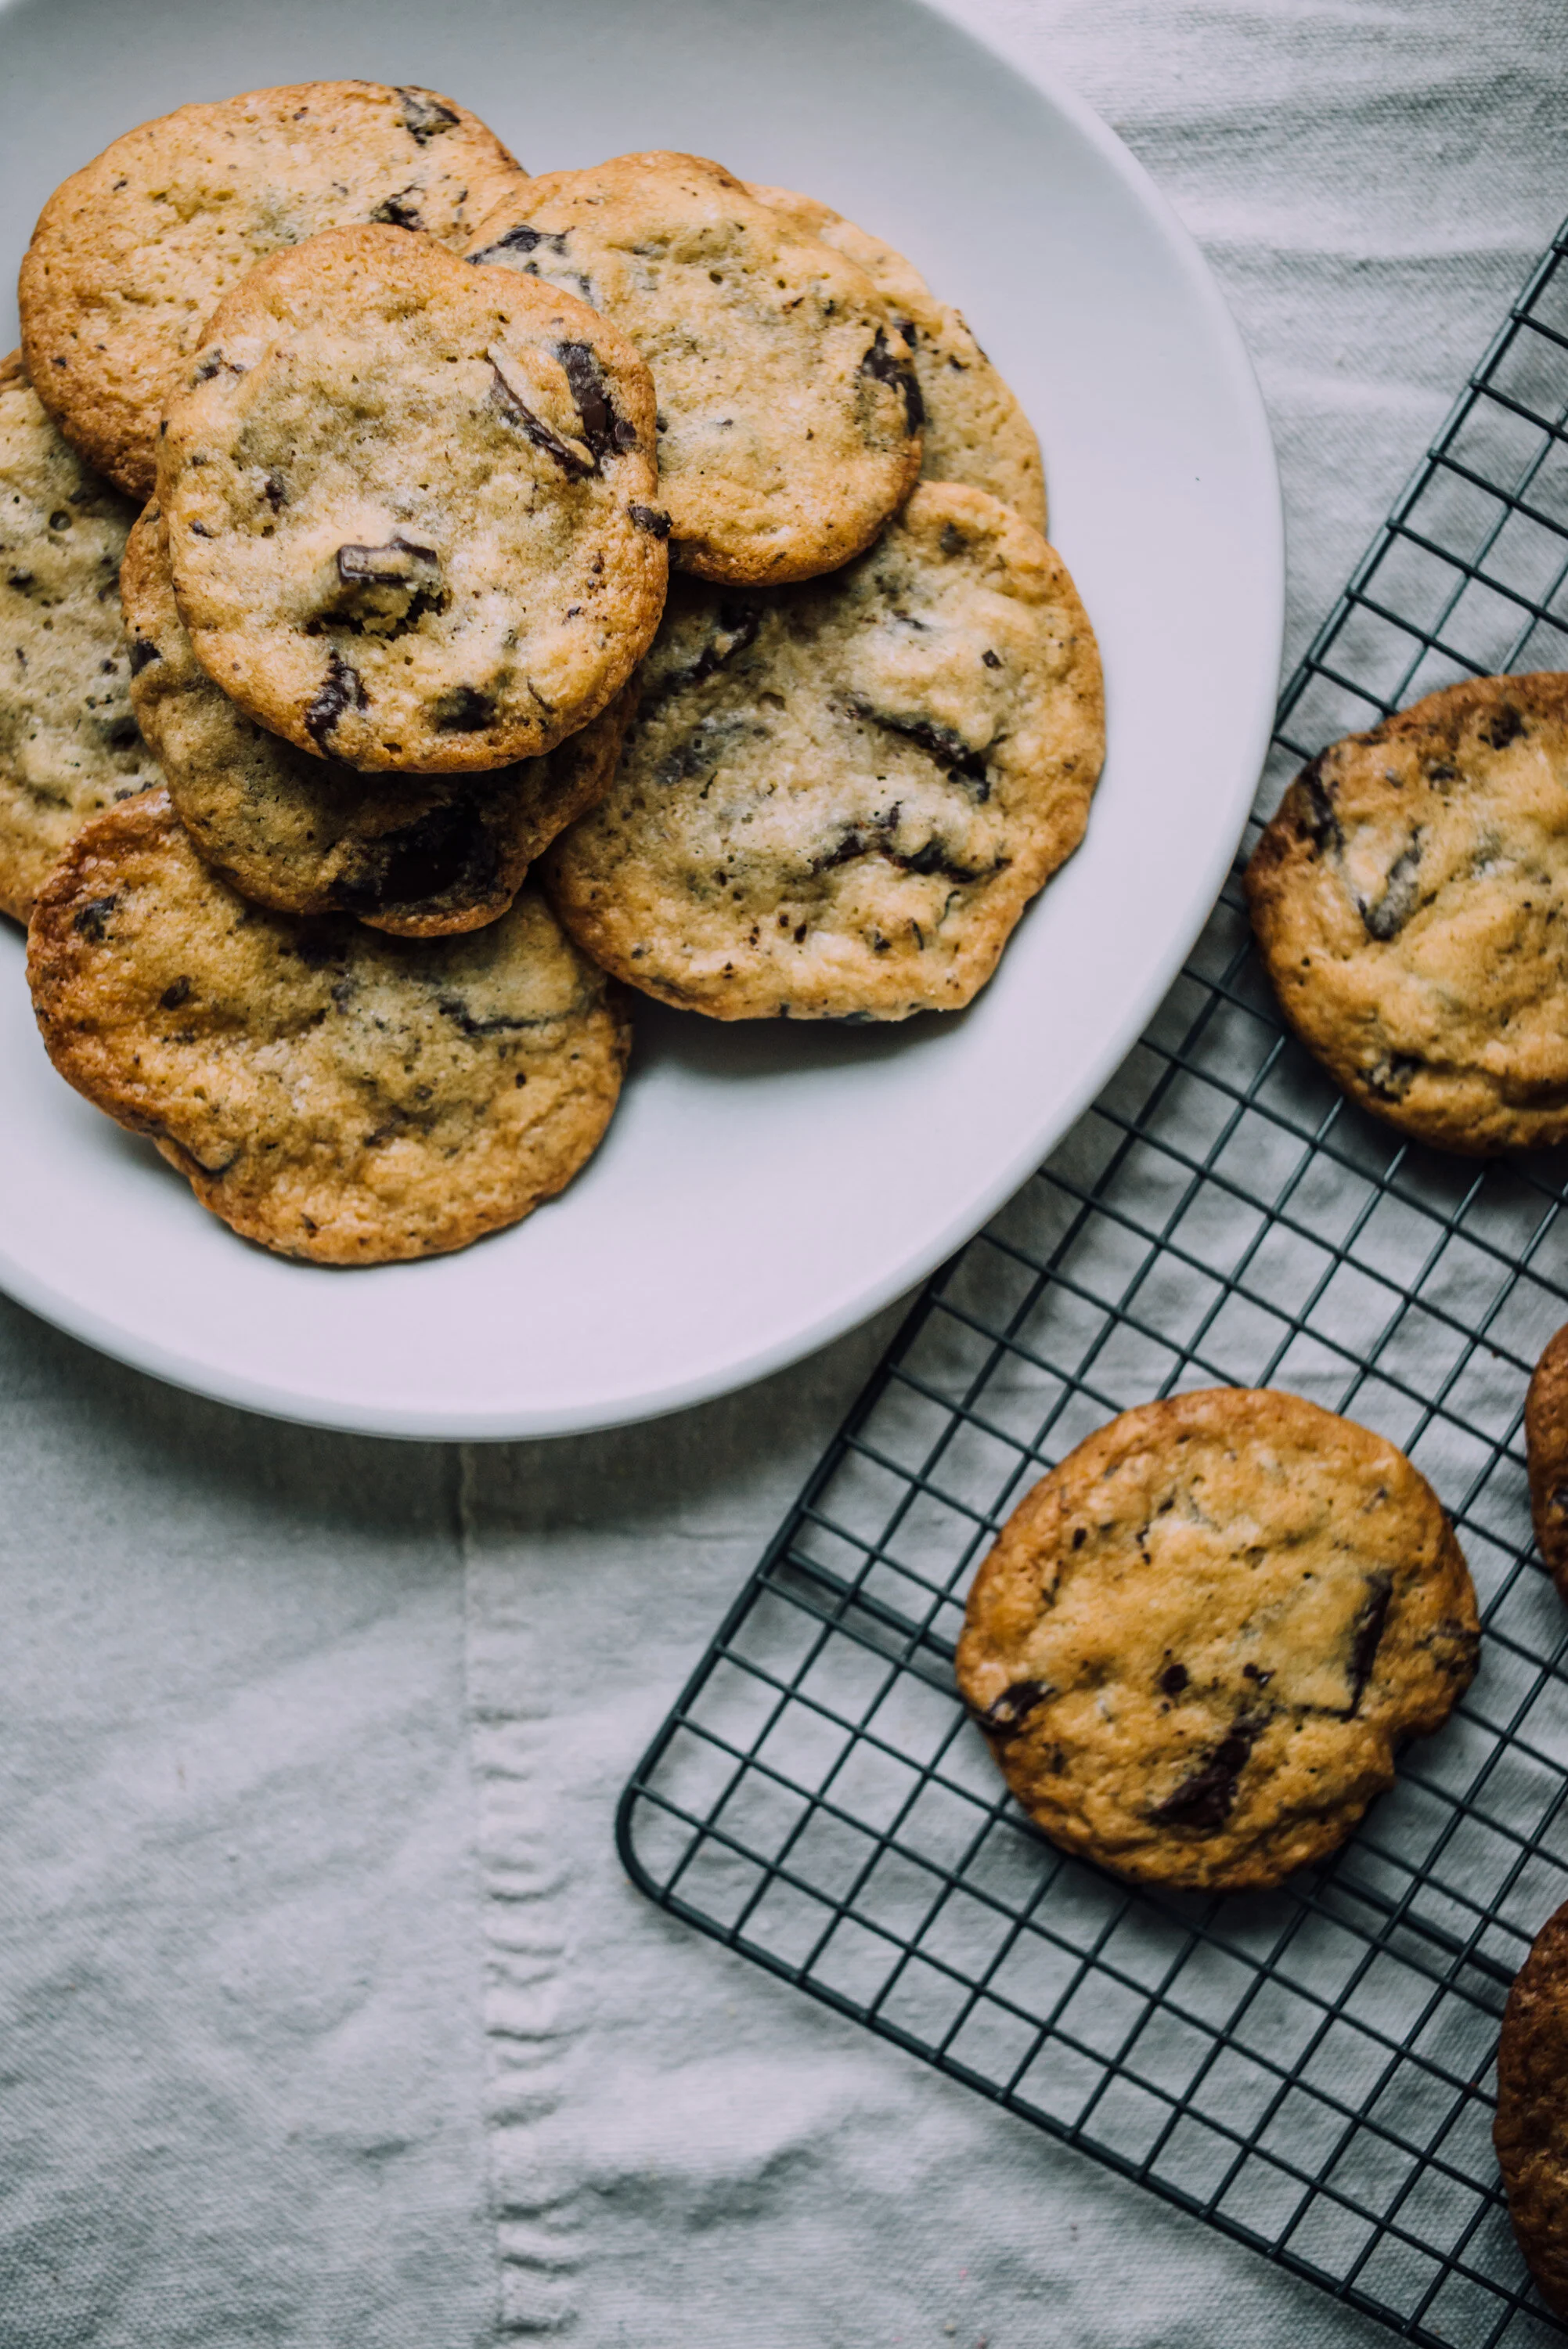
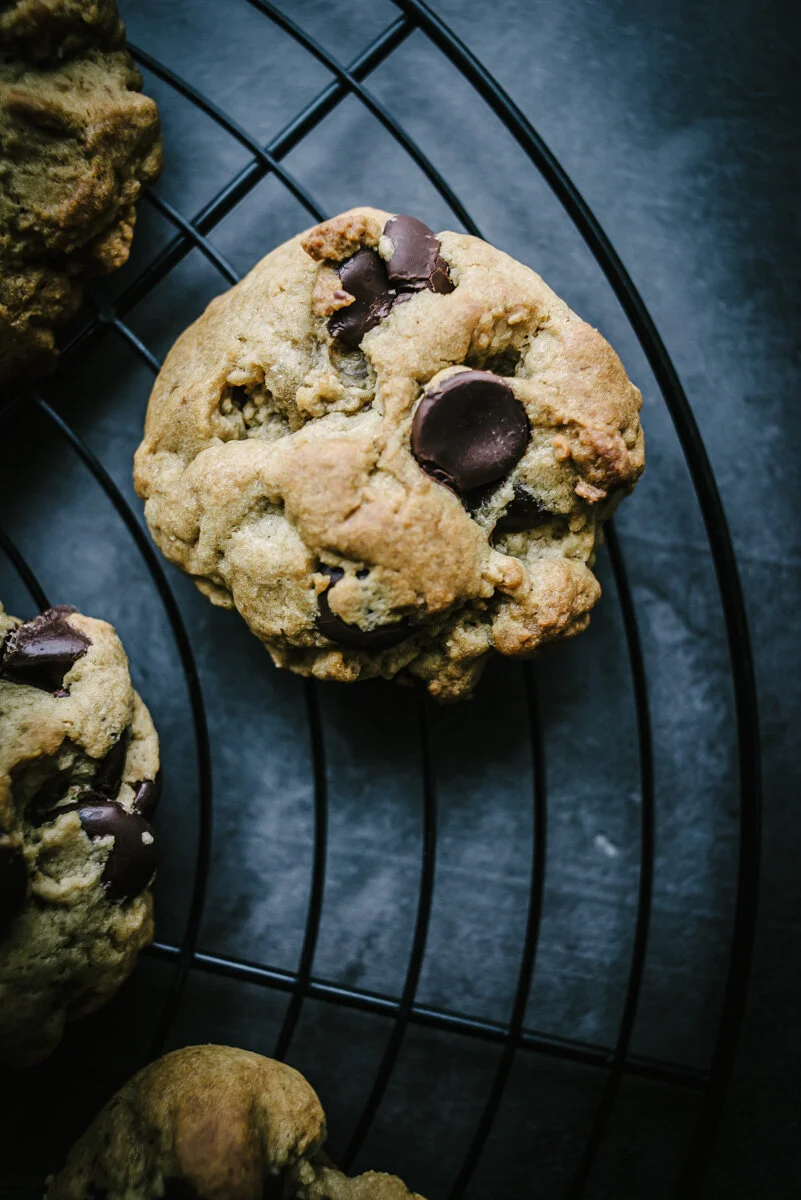
Peanut Butter Chocolate Chip Cookies
/
Here’s another treat to get you through the winter months. Peanut Butter Chocolate Chip Cookies! We had a big snow fall last week, 8-10 inches of snow (with a layer of ice sandwiched in-between) which is a big deal around here. The city practically shut down. Businesses closed. They don’t plow most streets because it’s… sort of rare, but not that rare! And they don’t use salt on the roads because it’s bad for the roads and the environment and will end up costing more money in the end with repair work. So you have to drive with chains on your tires or plan to walk to places, hunker down and light a fire. And maybe make some cookies if you have power. And we did! I couldn’t believe it. Huge snow/ice storm and we didn’t lose power.
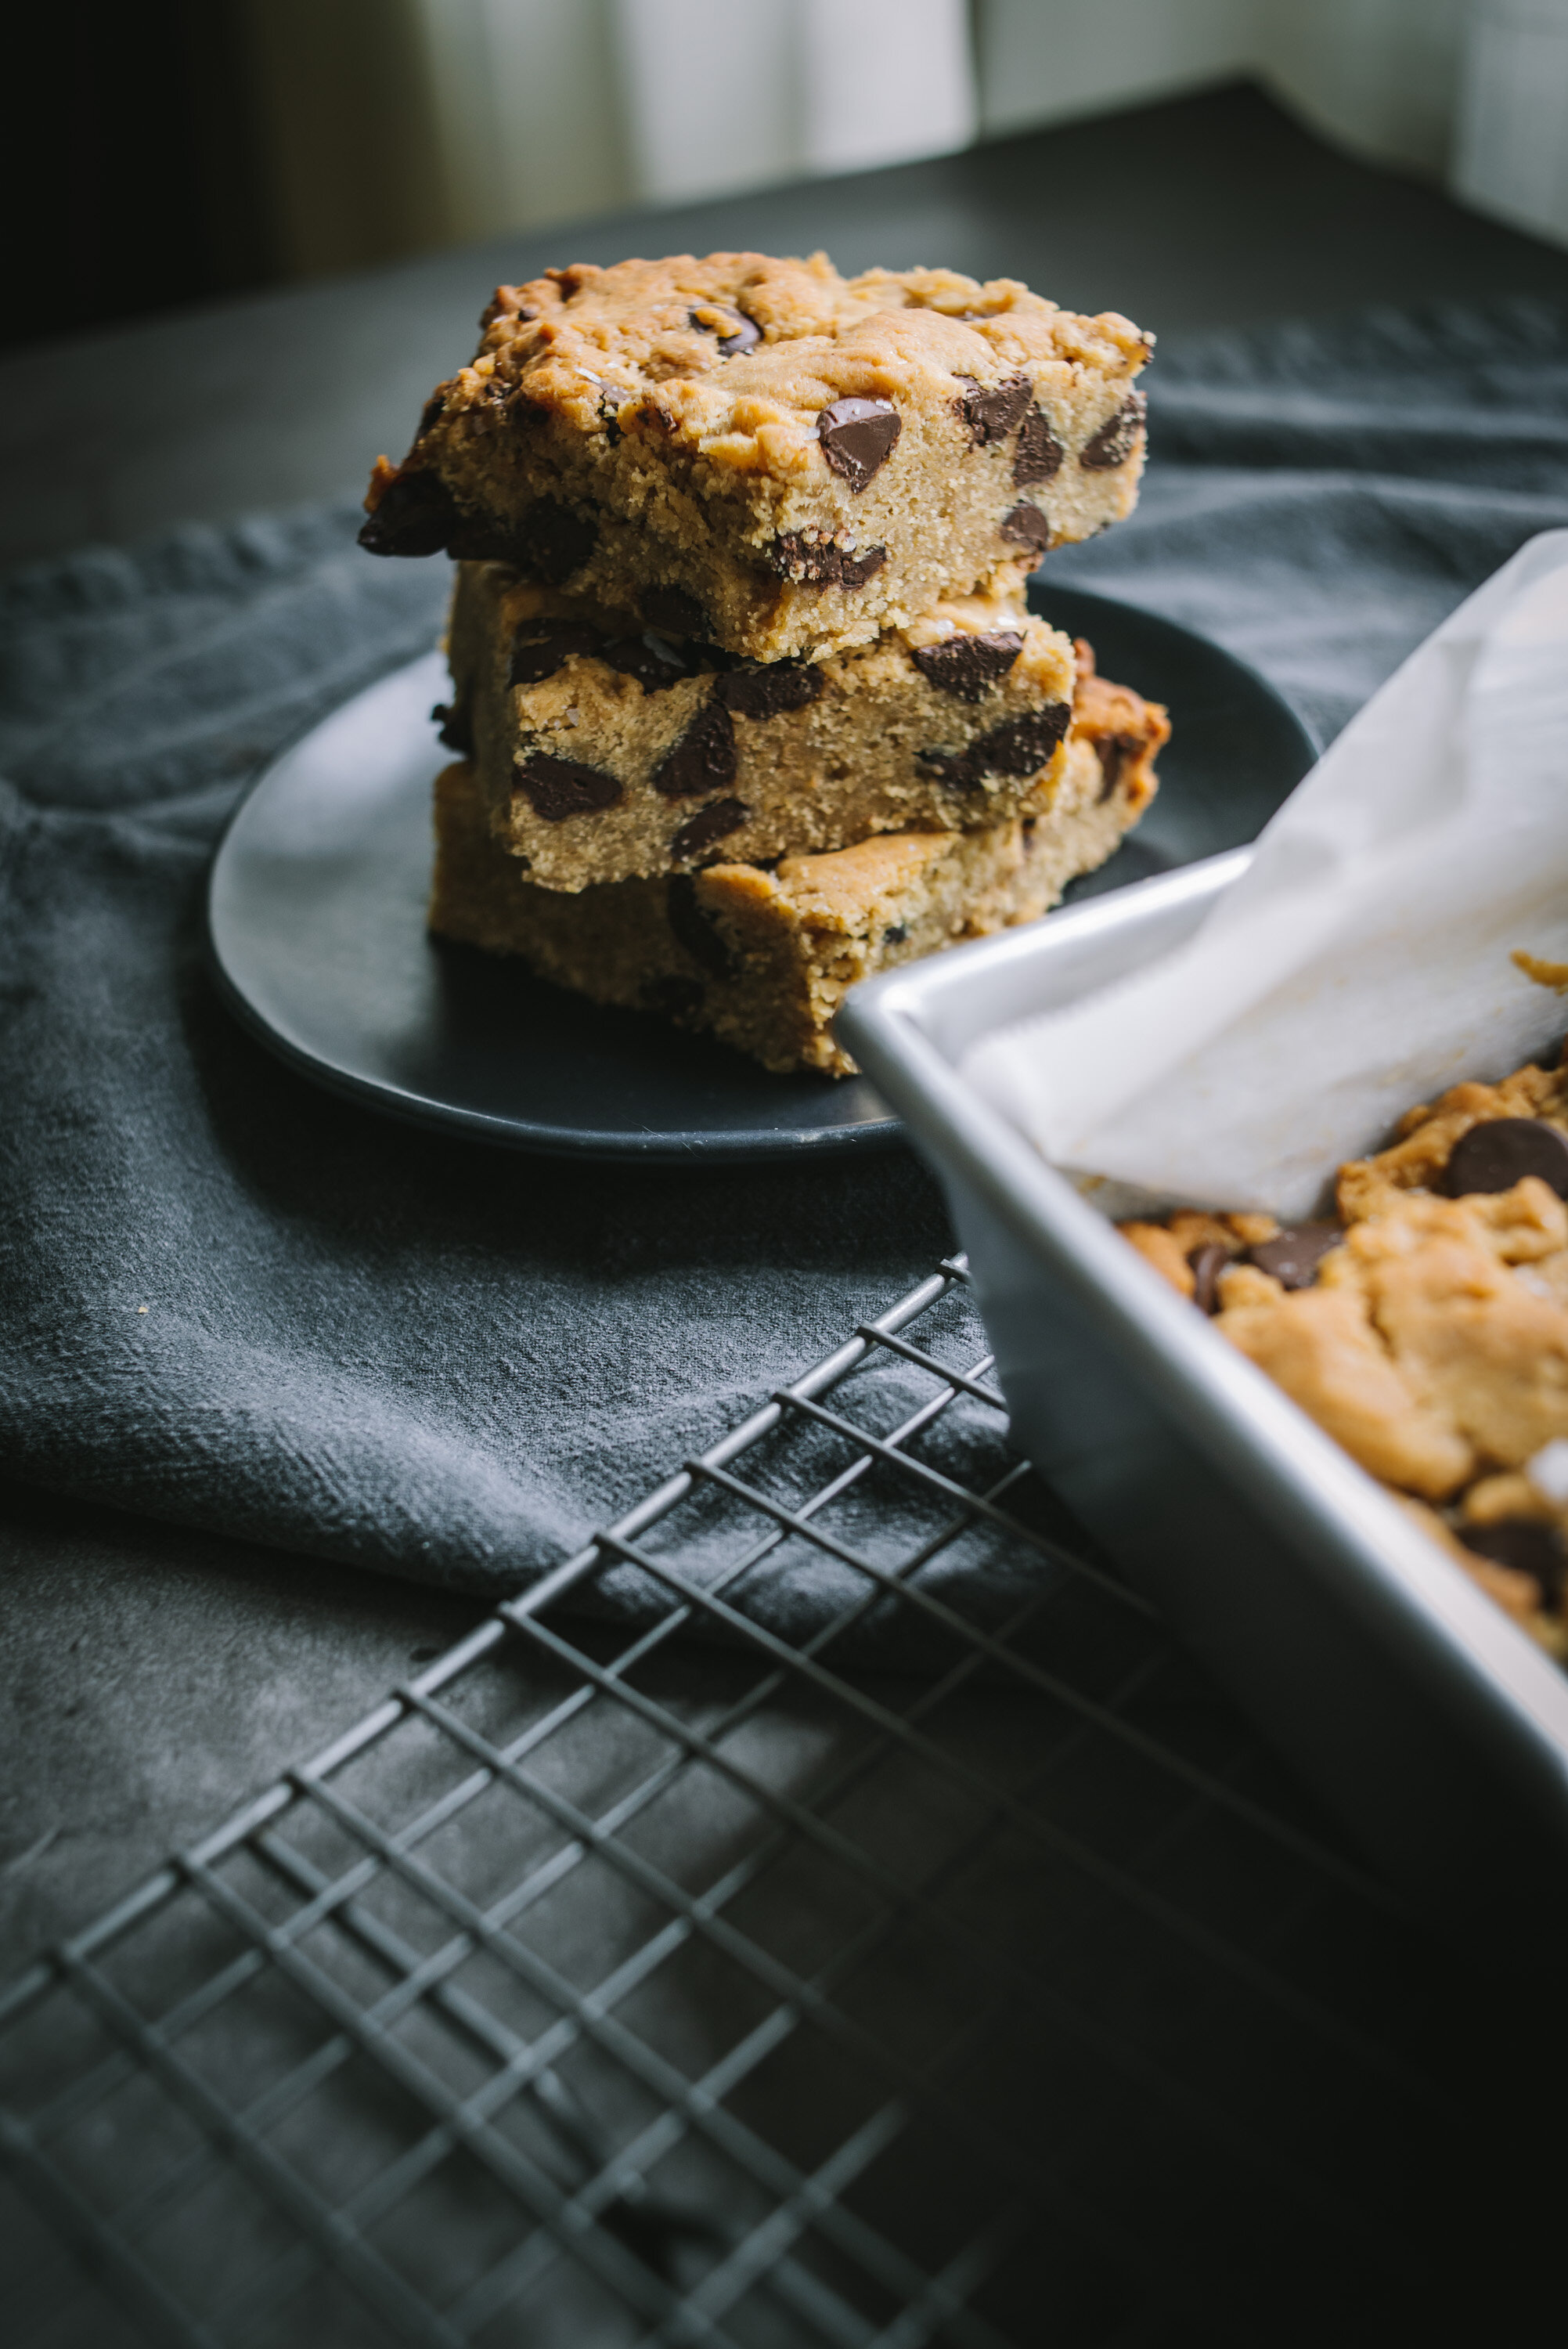
I was almost going to make the Peanut butter and Chocolate Blondies again, but they are so rich. Amazing as they are I really just wanted something a tad lighter. And these are just that. A little less butter, and a little less peanut butter. And also cookies, so rather than baked all at once in one pan, you can do as I did and bake small batches at a time. The dough stays fine in the fridge for a week and you can have fresh baked cookies in just a matter of minutes. Bake 6-12 cookies at a time. Whatever you want. Easy. You can freeze the dough as well if you want to take a break from cookie baking/eating. Since it’s just the two of us I find it makes more sense to do these small batch desserts. Some things freeze well post-baked and taste good defrosted, like cakes, but cookies? I think fresh baked is best.
The original recipe was named “Chewy” Peanut Butter Chocolate Chip Cookies, which mine were not, maybe because I used honey rather than corn syrup? I’m not sure. The only thing I changed here was that I used honey instead of Corn Syrup. But I don’t have corn syrup and didn’t have any plans to use it so I replaced it with honey. No complaints! These cookies were awesome! I would definitely make them again. Enjoy! And stay warm!


Peanut Butter Chocolate Chip Cookies
1/2 cup butter, softened
1/2 cup peanut butter
1 cup packed brown sugar
1/2 cup white sugar
2 eggs
2 tablespoons honey
2 tablespoons water
2 teaspoons vanilla extract
2 1/2 cups all-purpose flour
1 teaspoon baking soda
1/2 teaspoon salt
2 cups chopped semisweet chocolate 10 oz bag
Preheat oven to 375F° (190C°). Line a baking sheet with parchment paper.
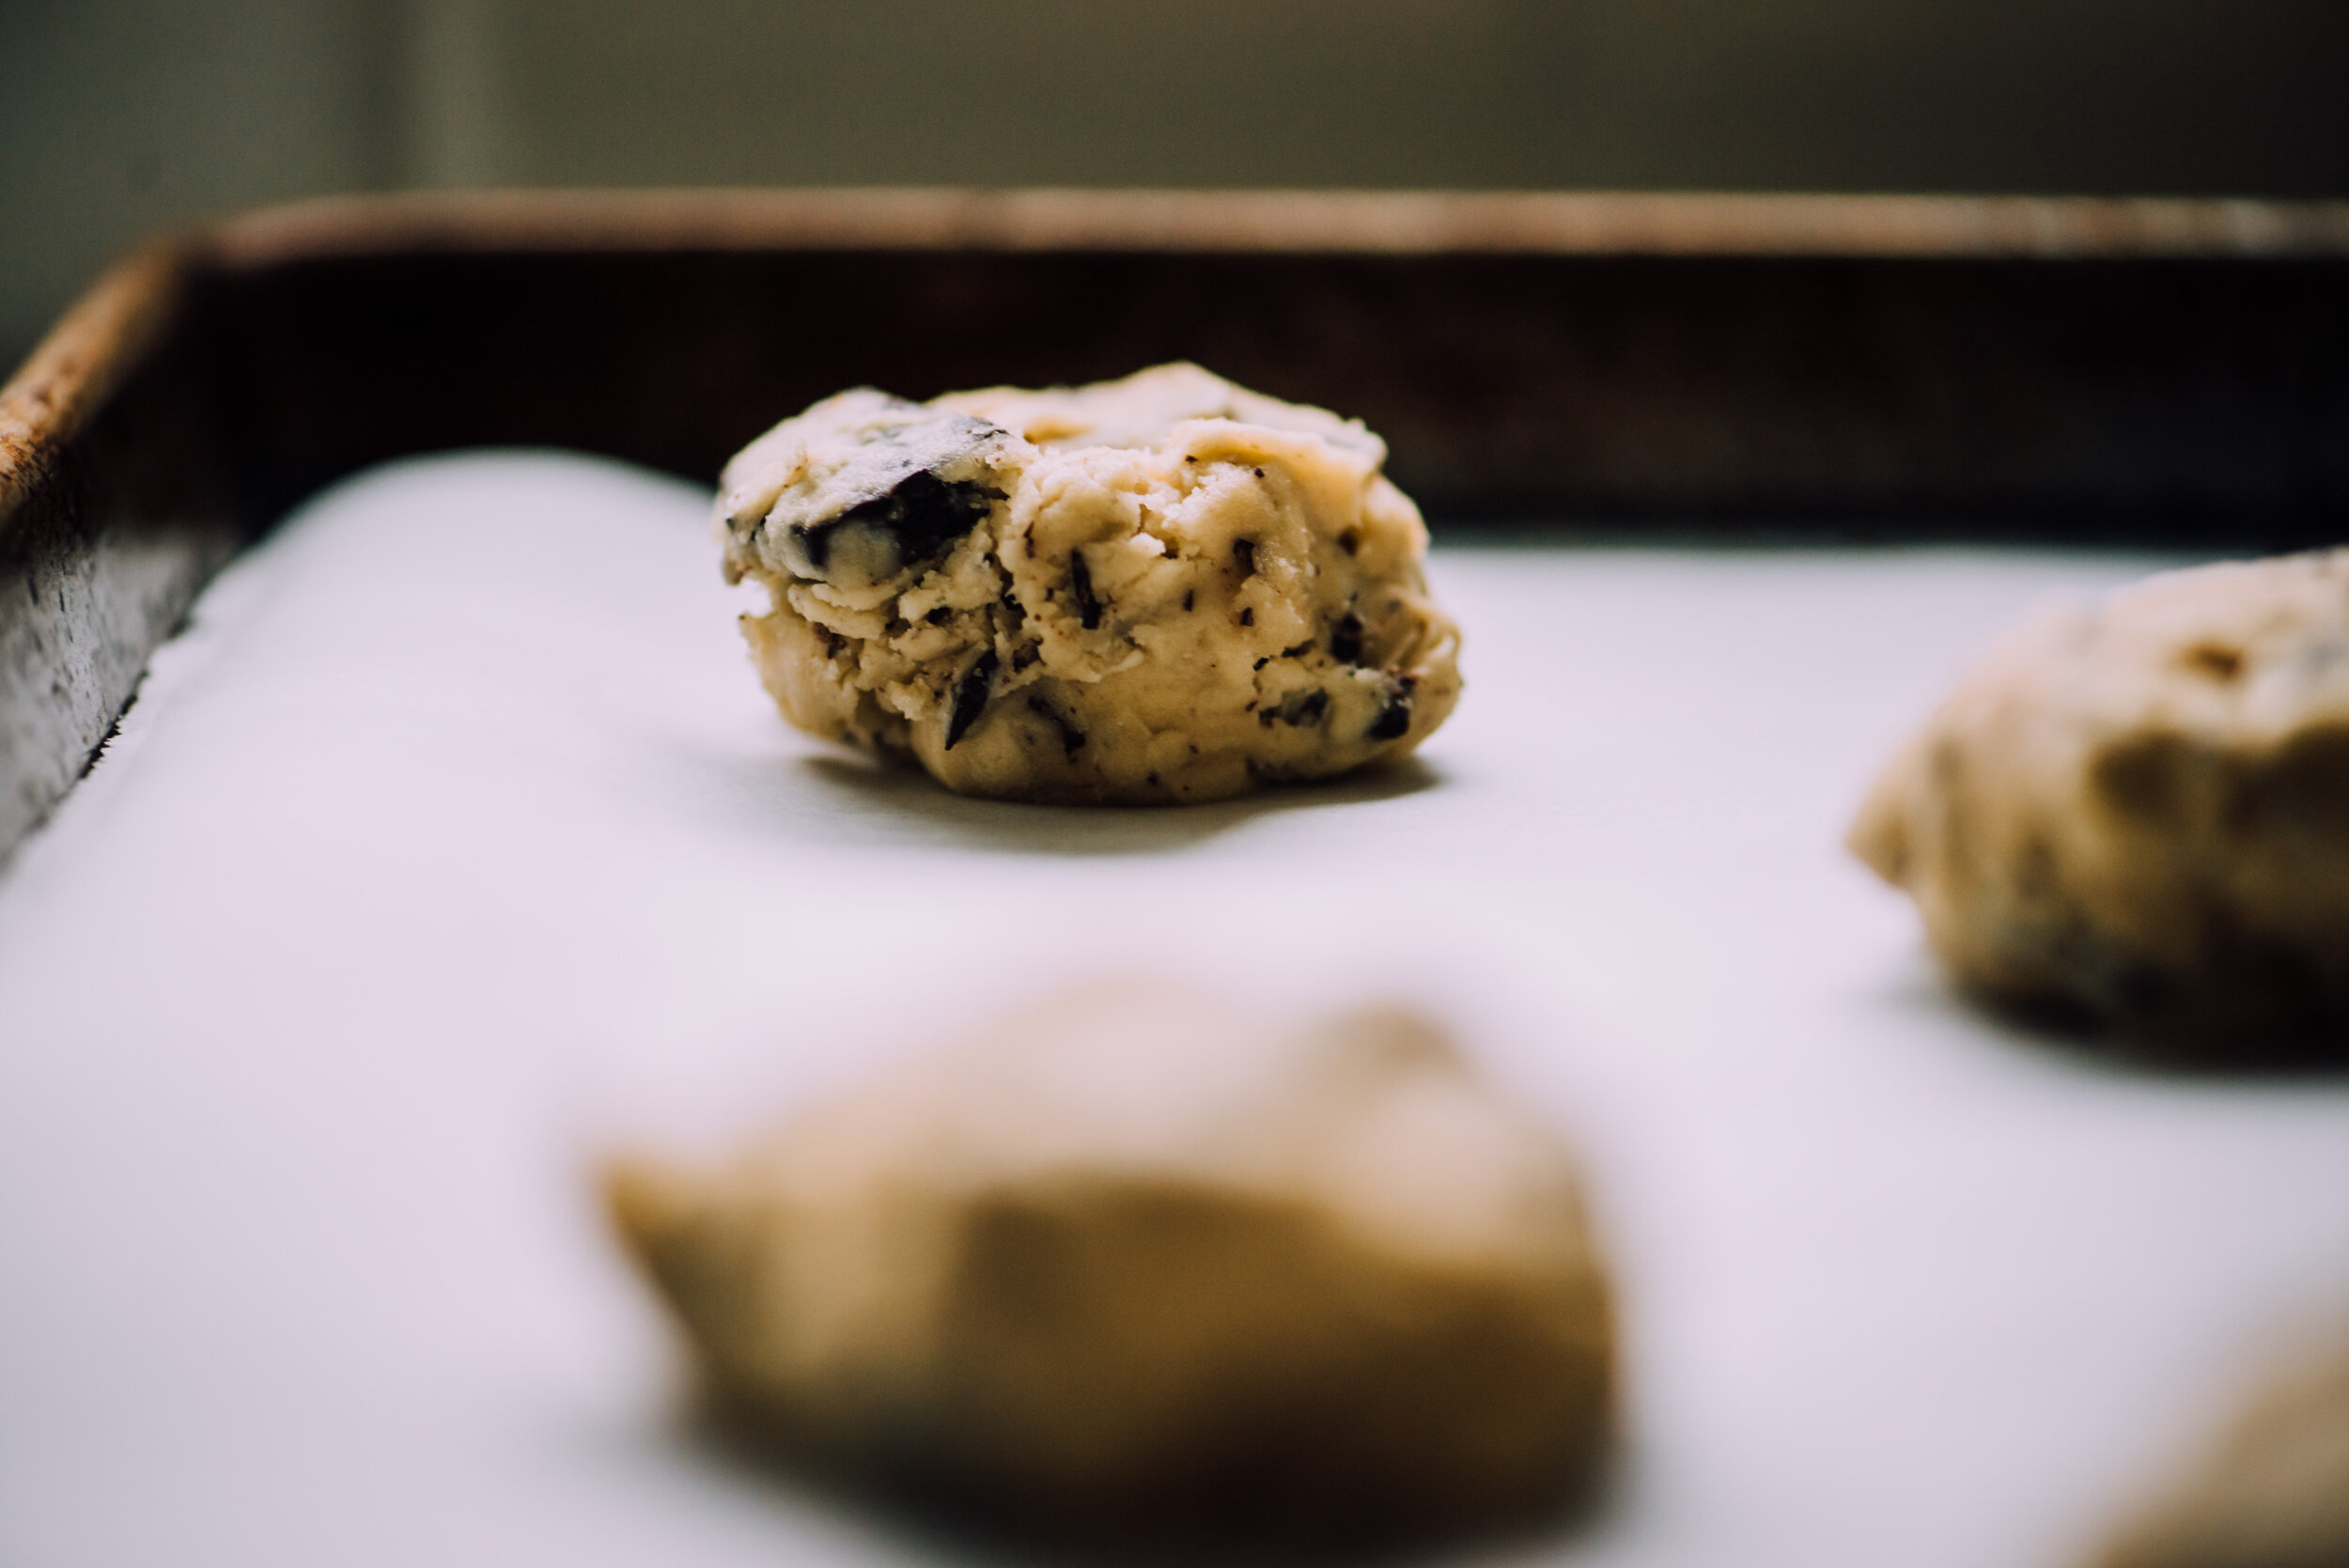
In a large bowl cream together the butter, peanut butter, brown sugar, and white sugar until smooth. Beat in the eggs one at a time, then stir in the honey, water, and vanilla. In a separate bowl whisk together the flour, baking soda, and salt. Then stir the flour mixture into the peanut butter mixture. Fold in chocolate chunks. Drop by 1/4 cupfuls 3 inches apart onto the parchment-lined baking sheet.
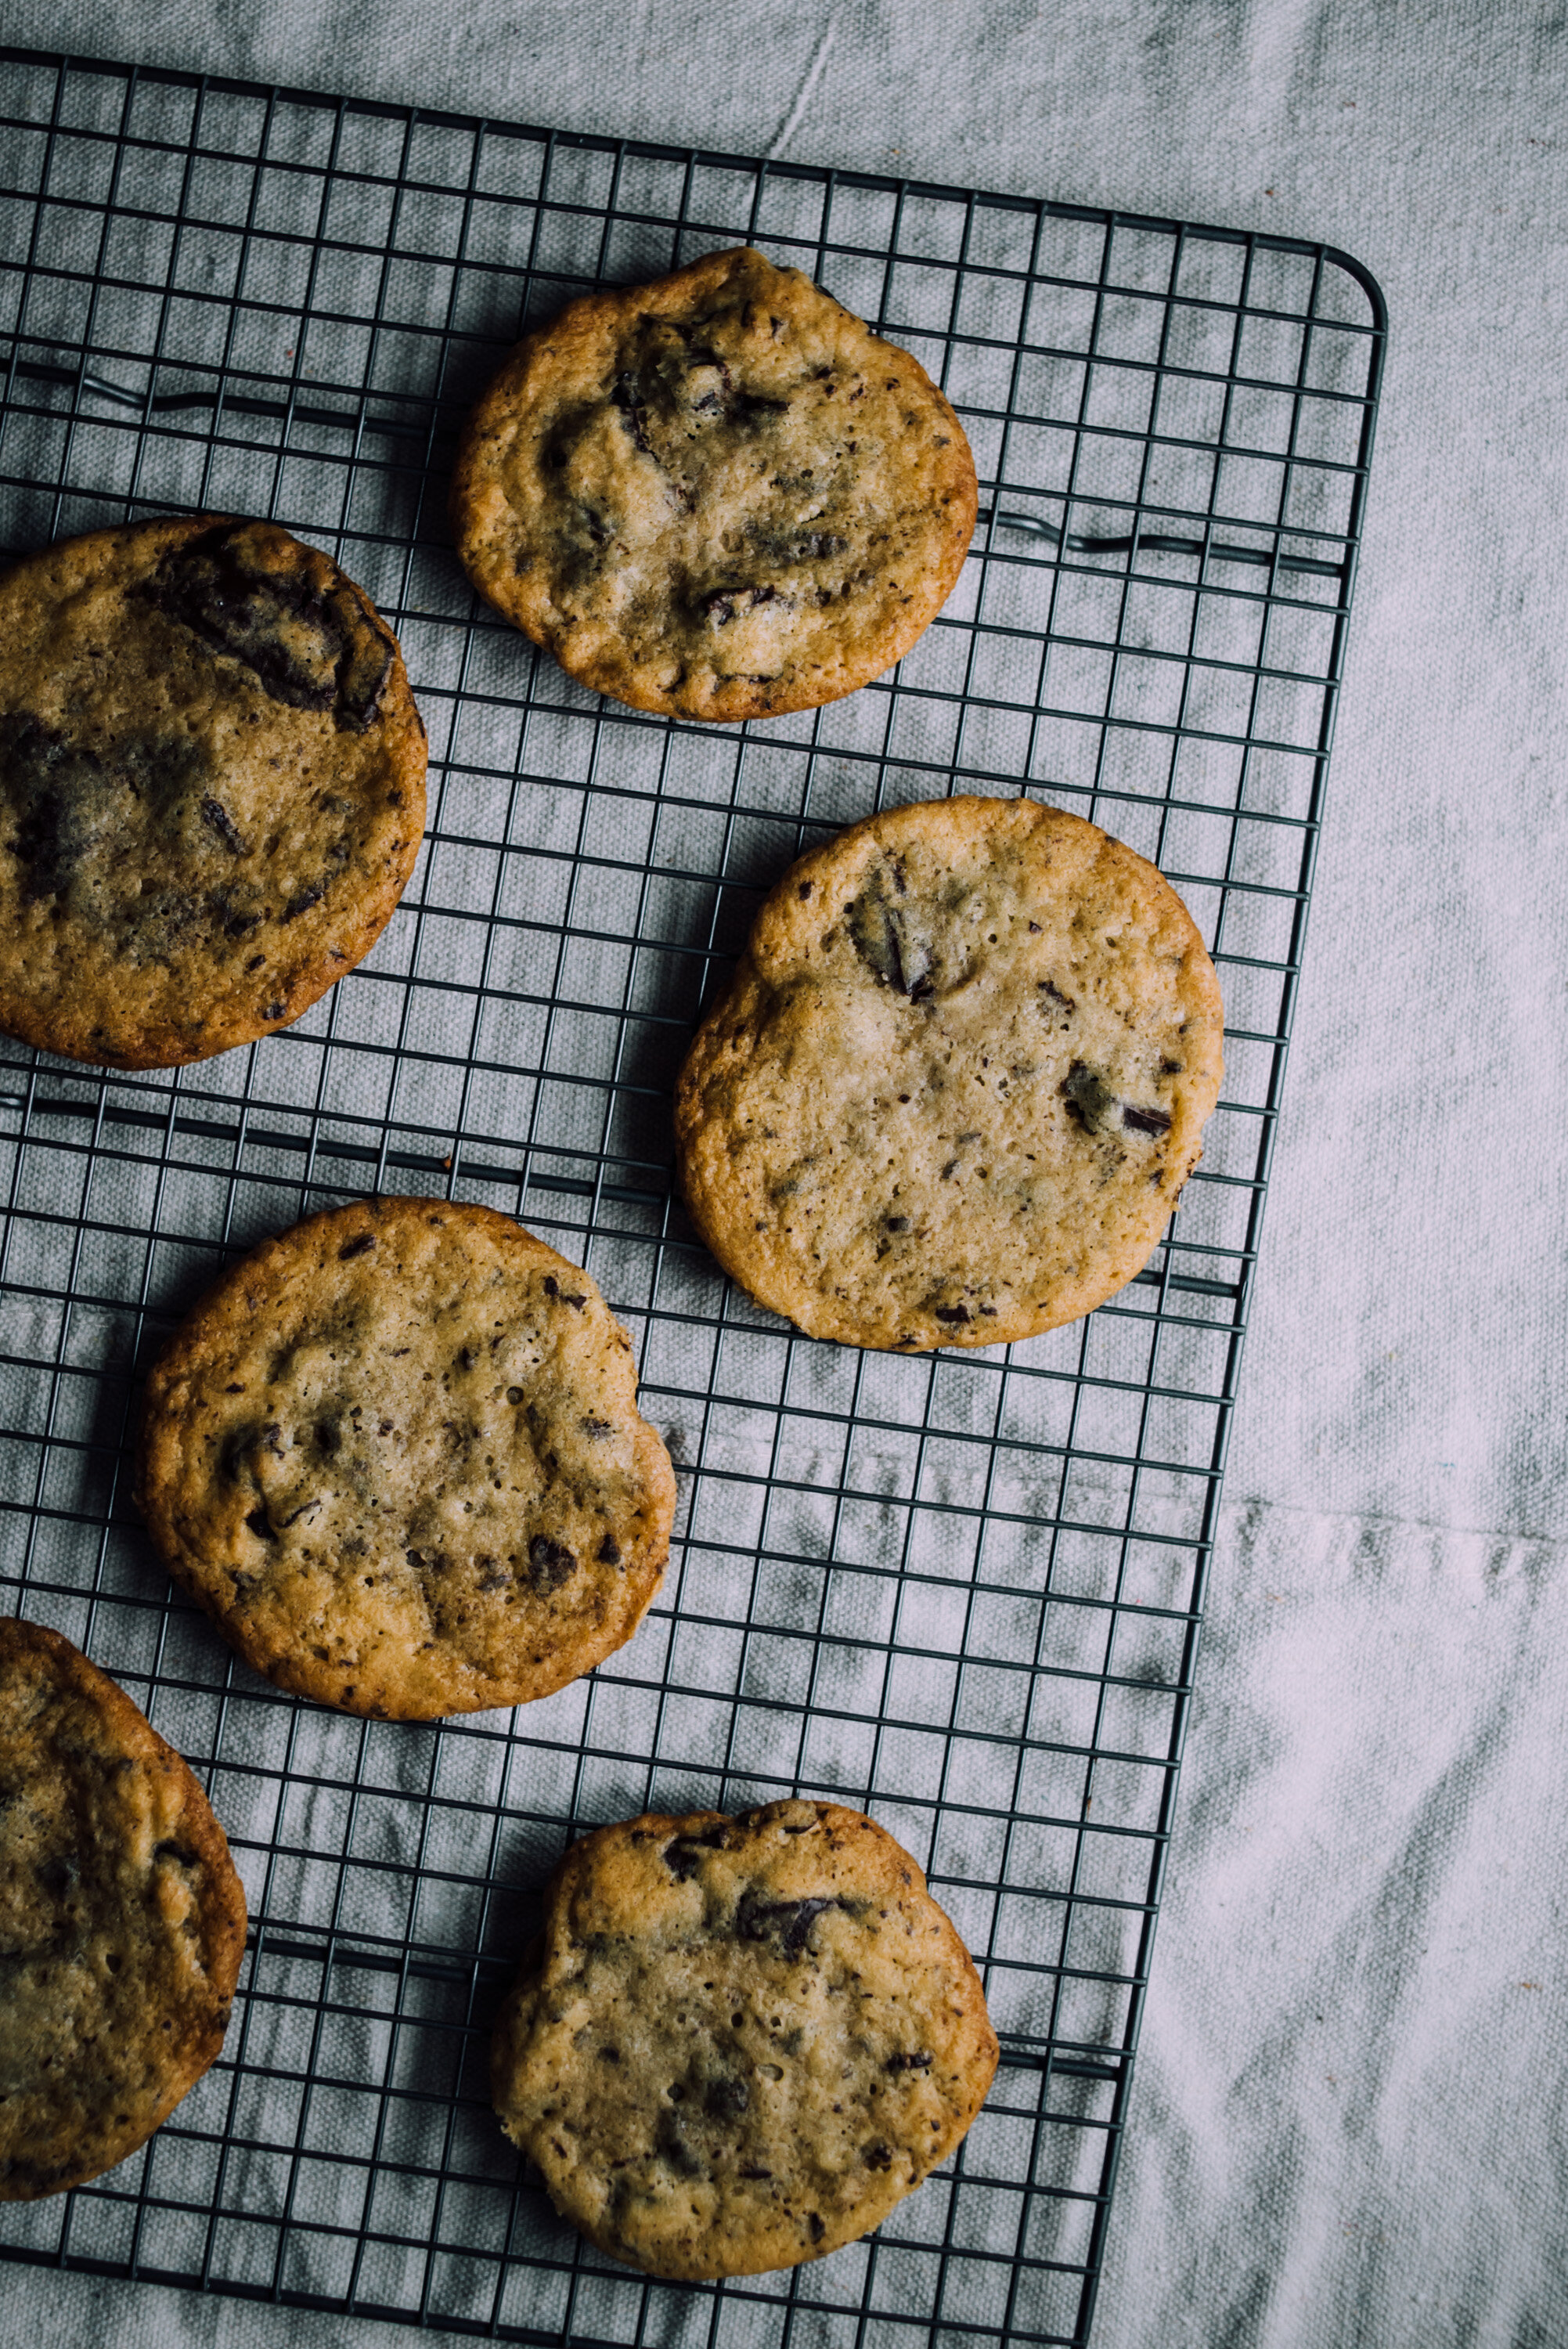
Bake for 12 to 15 minutes in preheated oven, or until edges are golden. Allow cookies to cool for a few minutes on the cookie sheet before removing to wire racks to cool completely. Makes about 36 cookies.